A bodhran is :
A skin

Selected with the tanner, the skins can be : goat, kid, deer, doe, sheep and also calf and all come from animals which are slaughtered in France.
All skins are naturally treated to make percussion skins
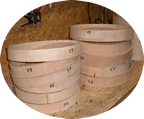
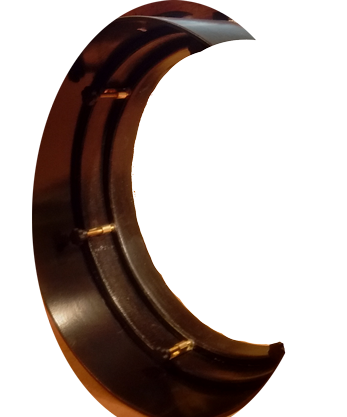
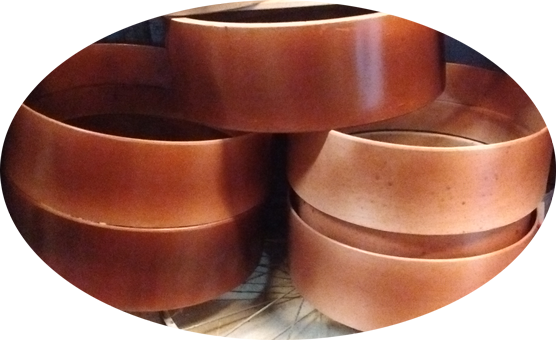
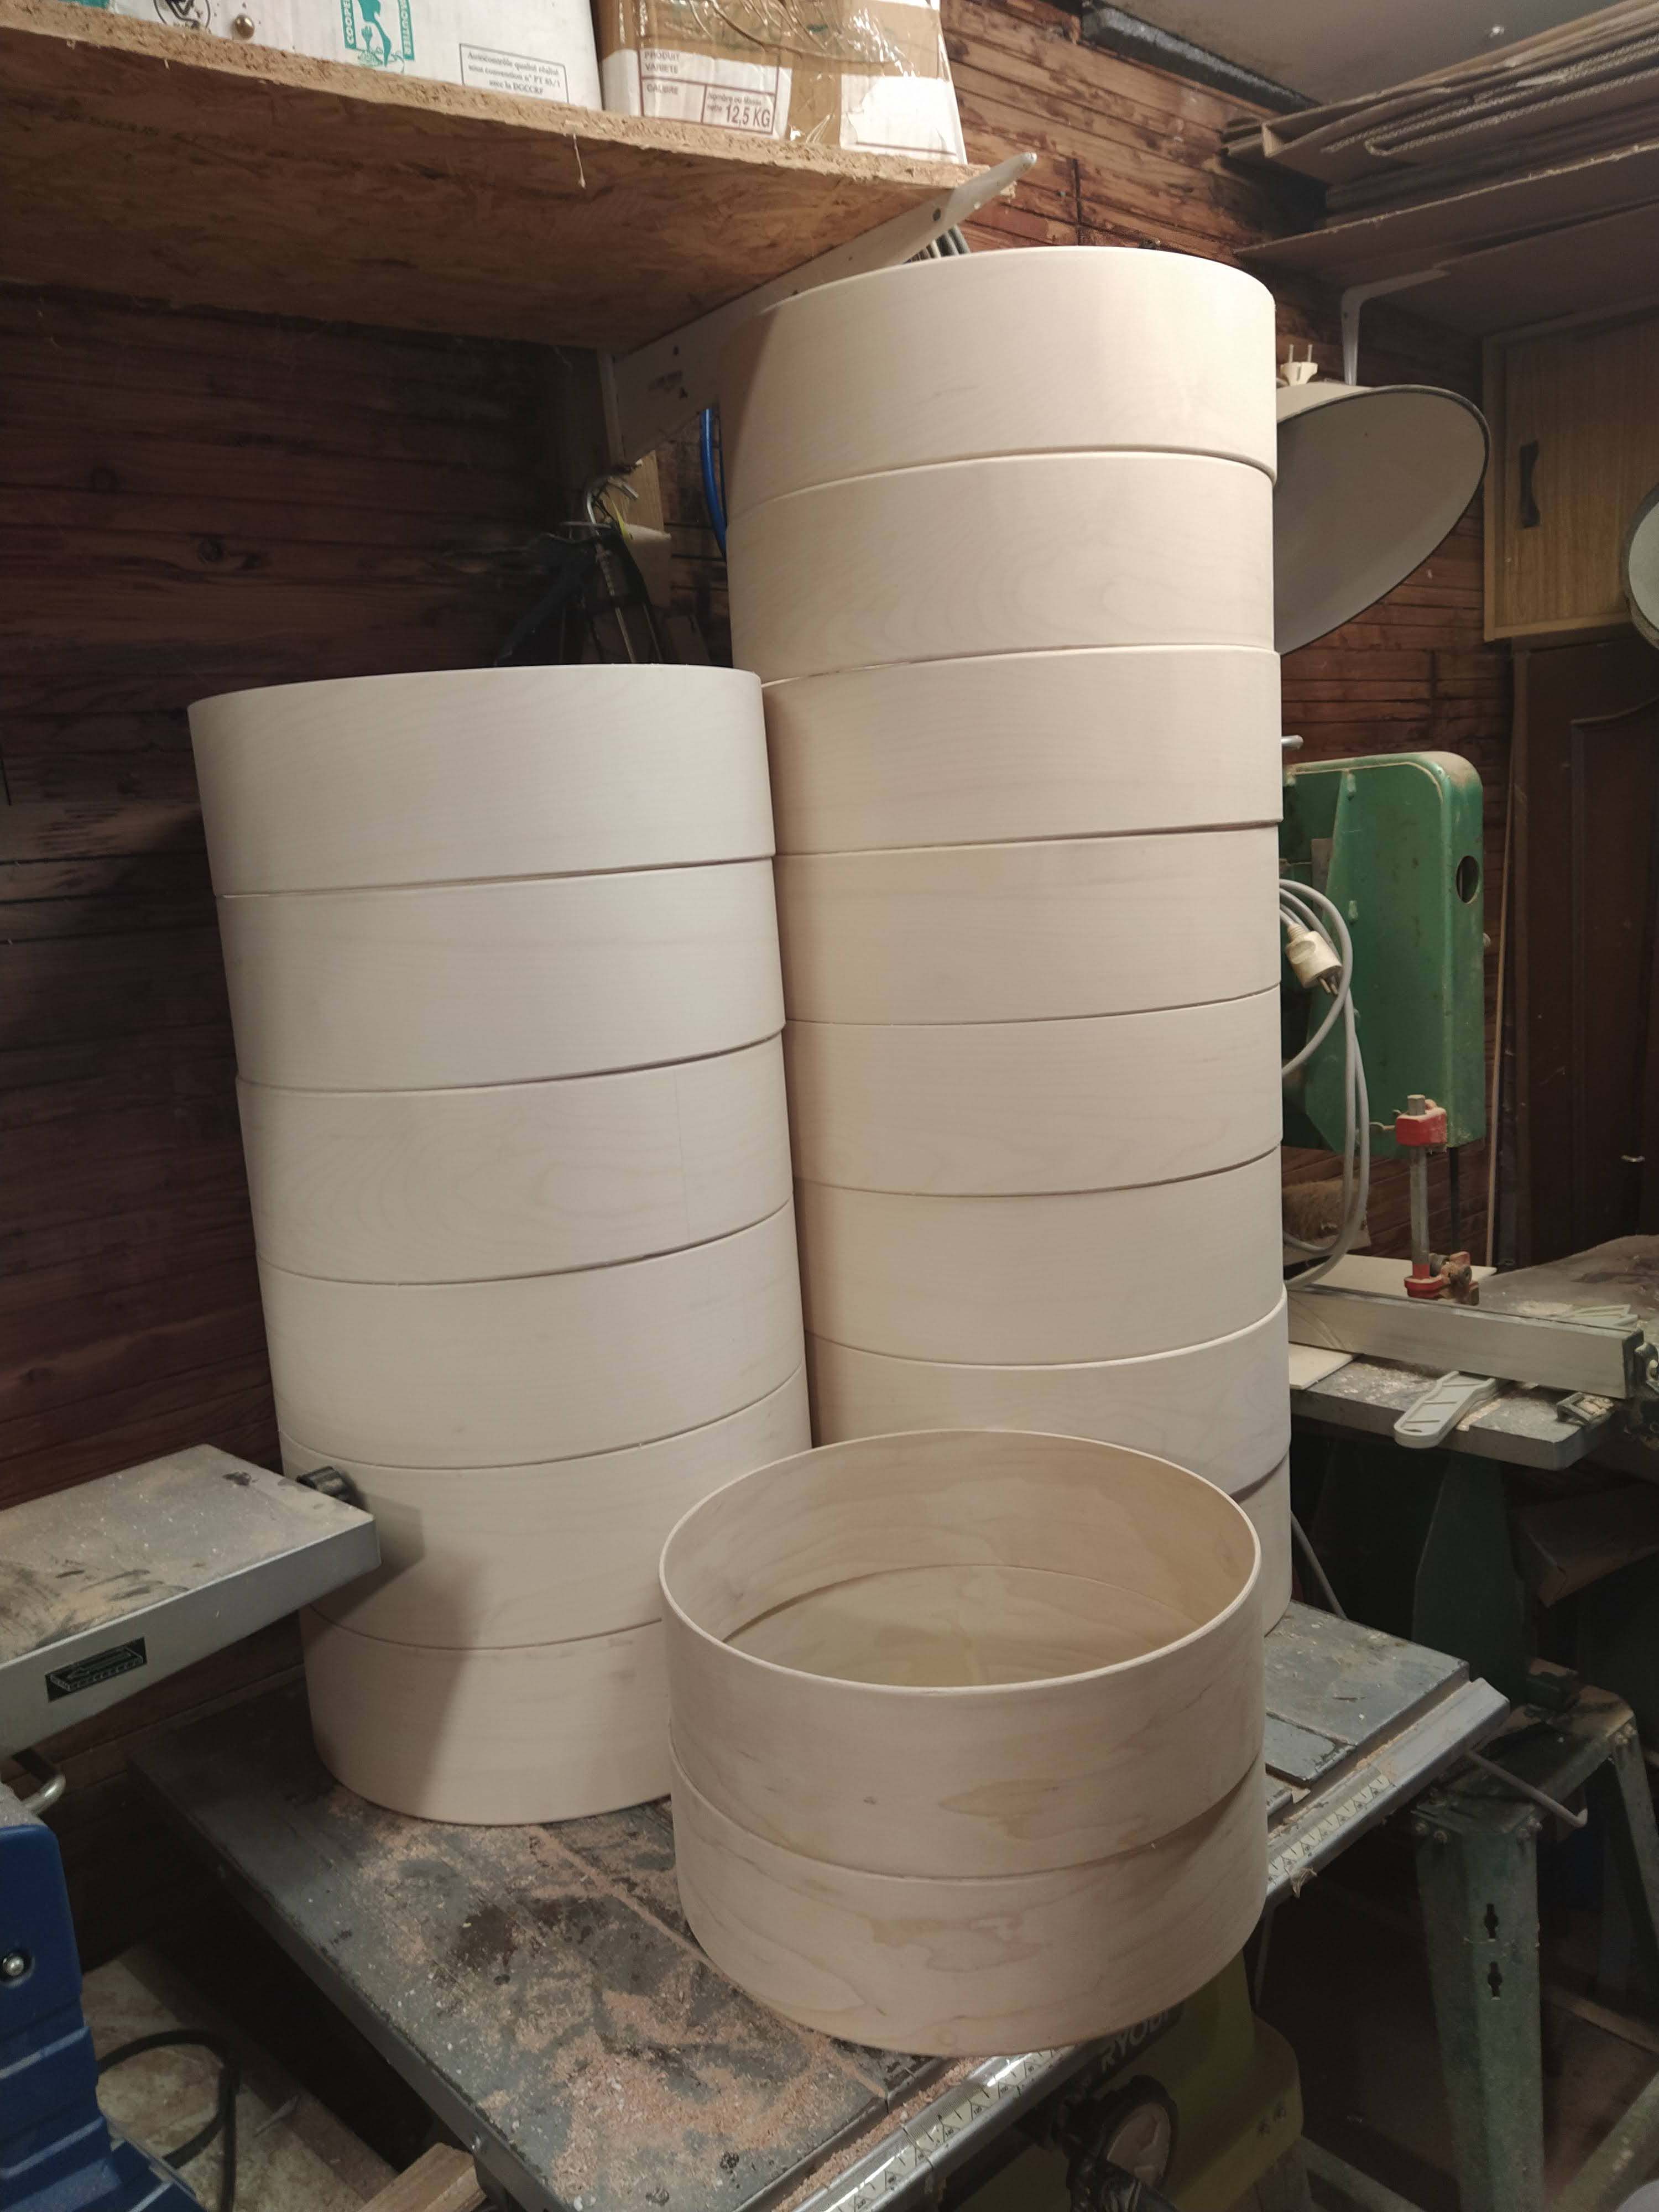
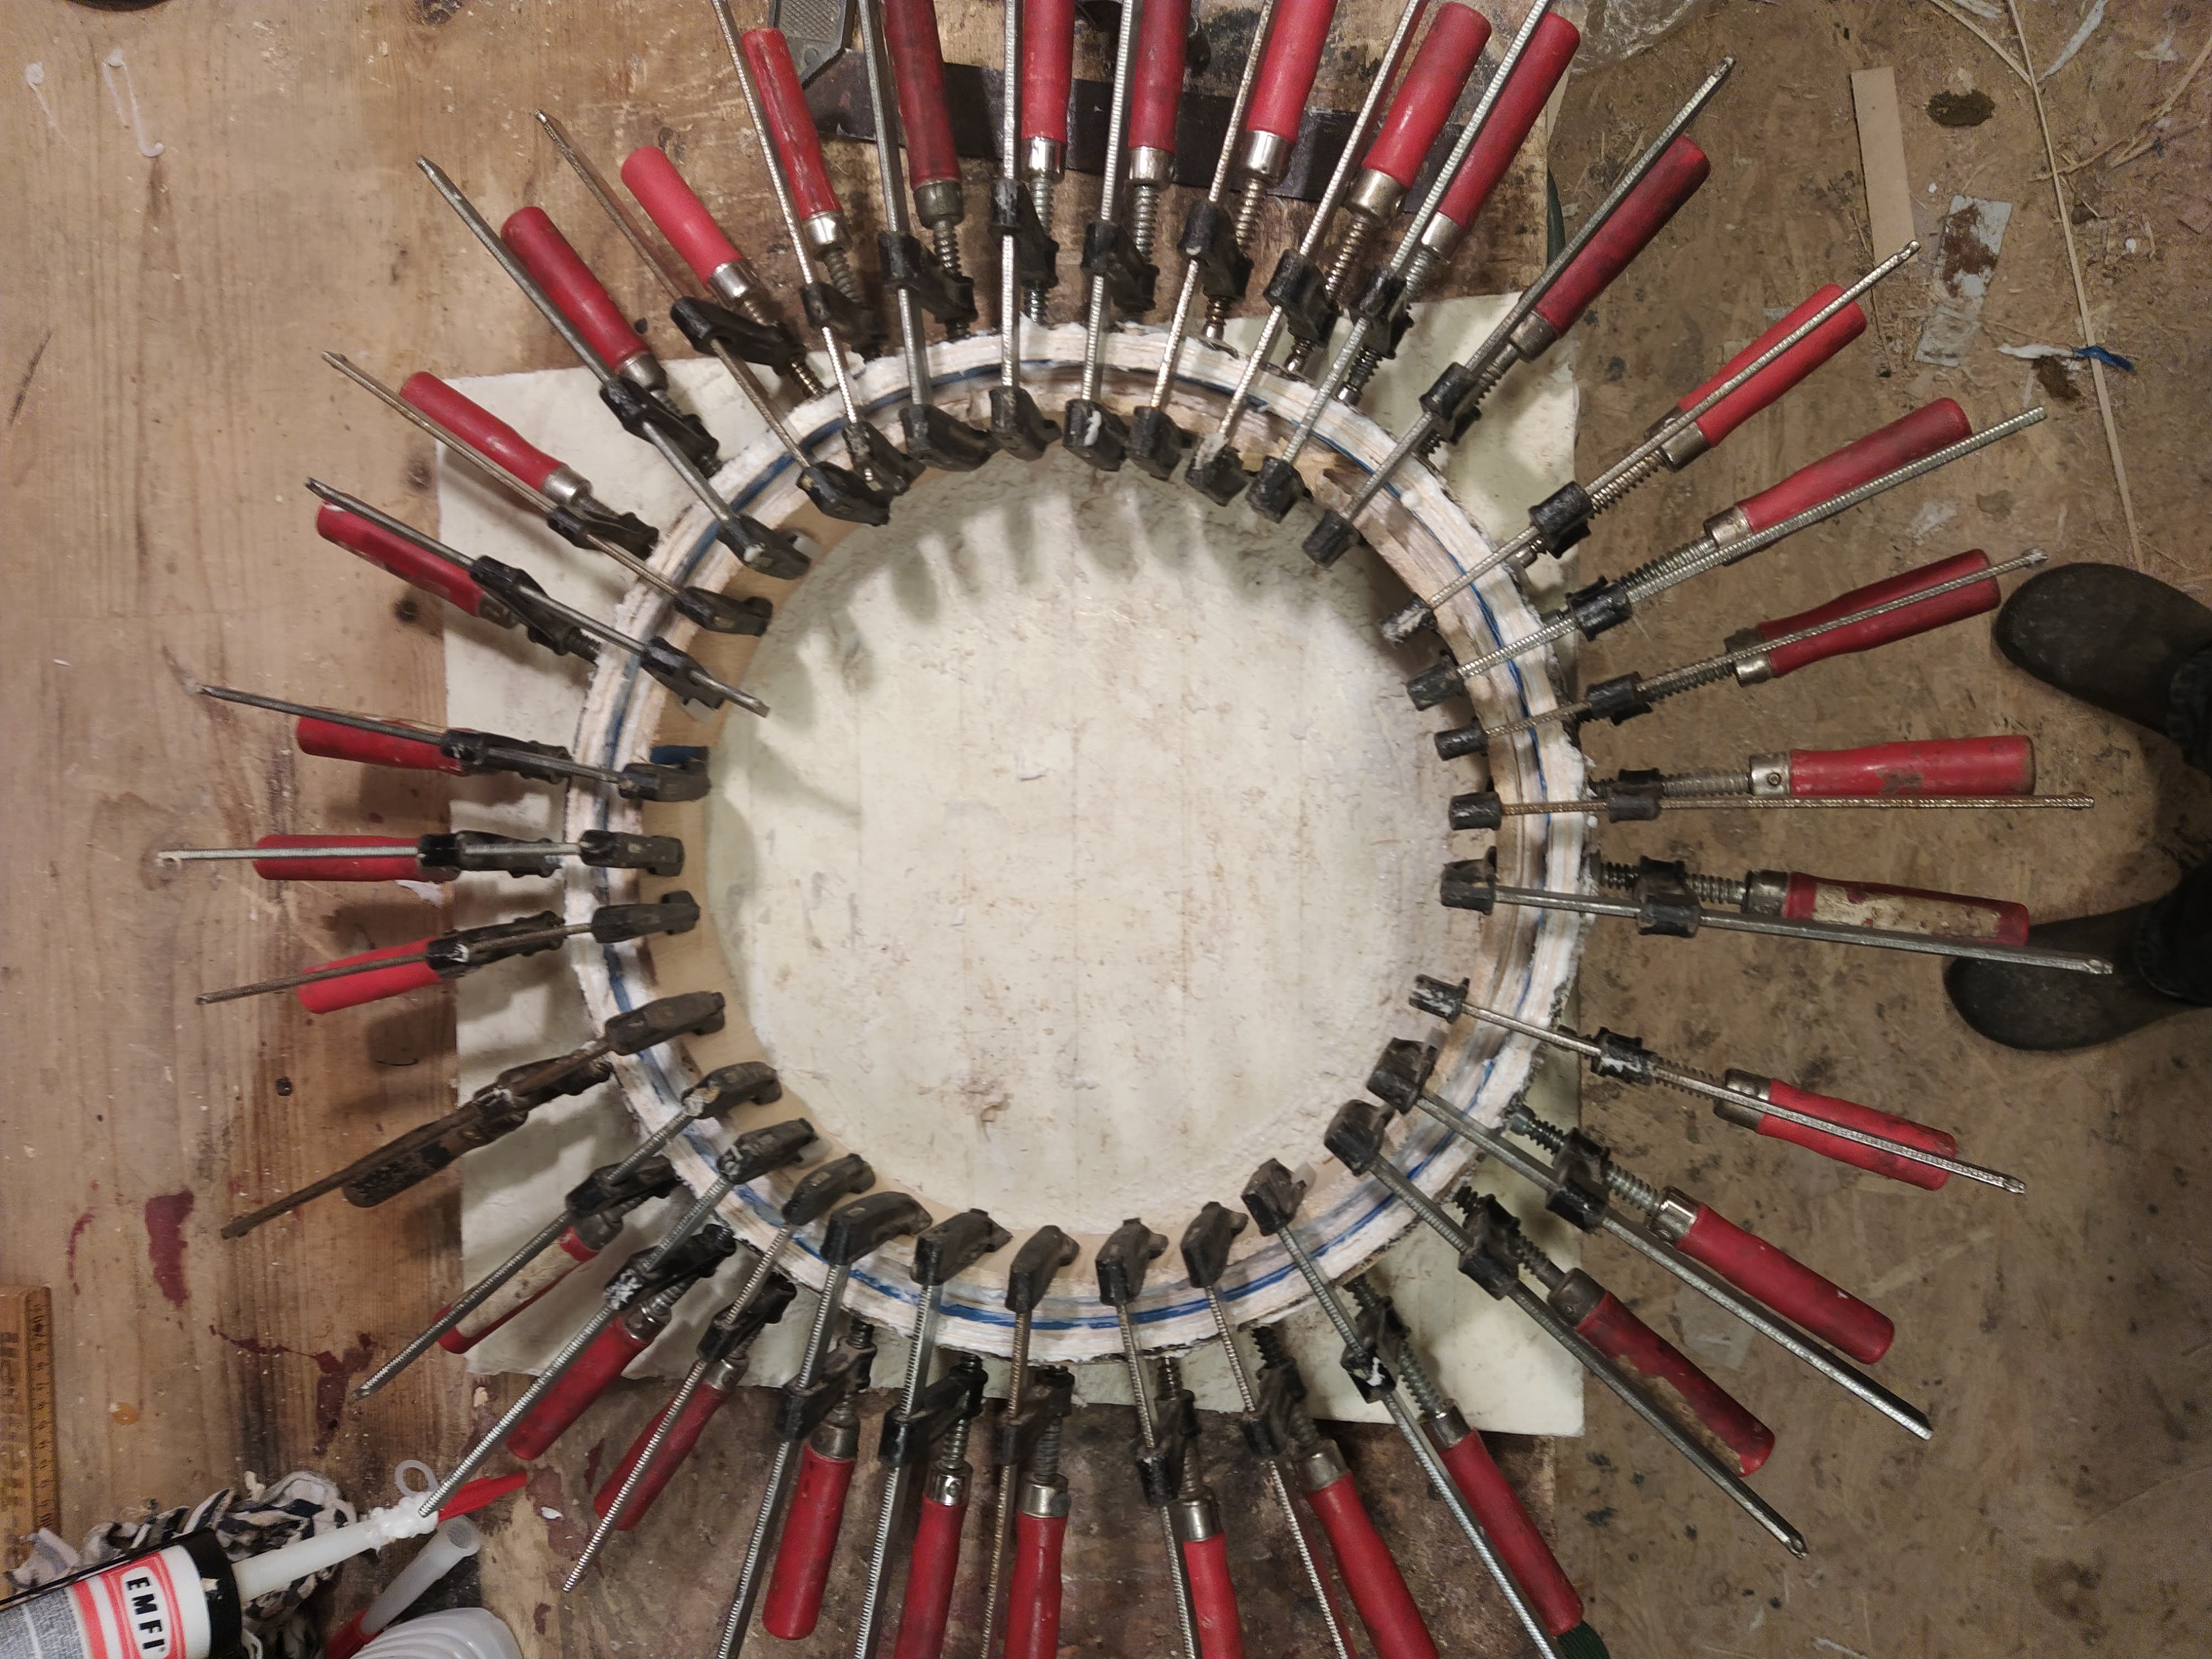
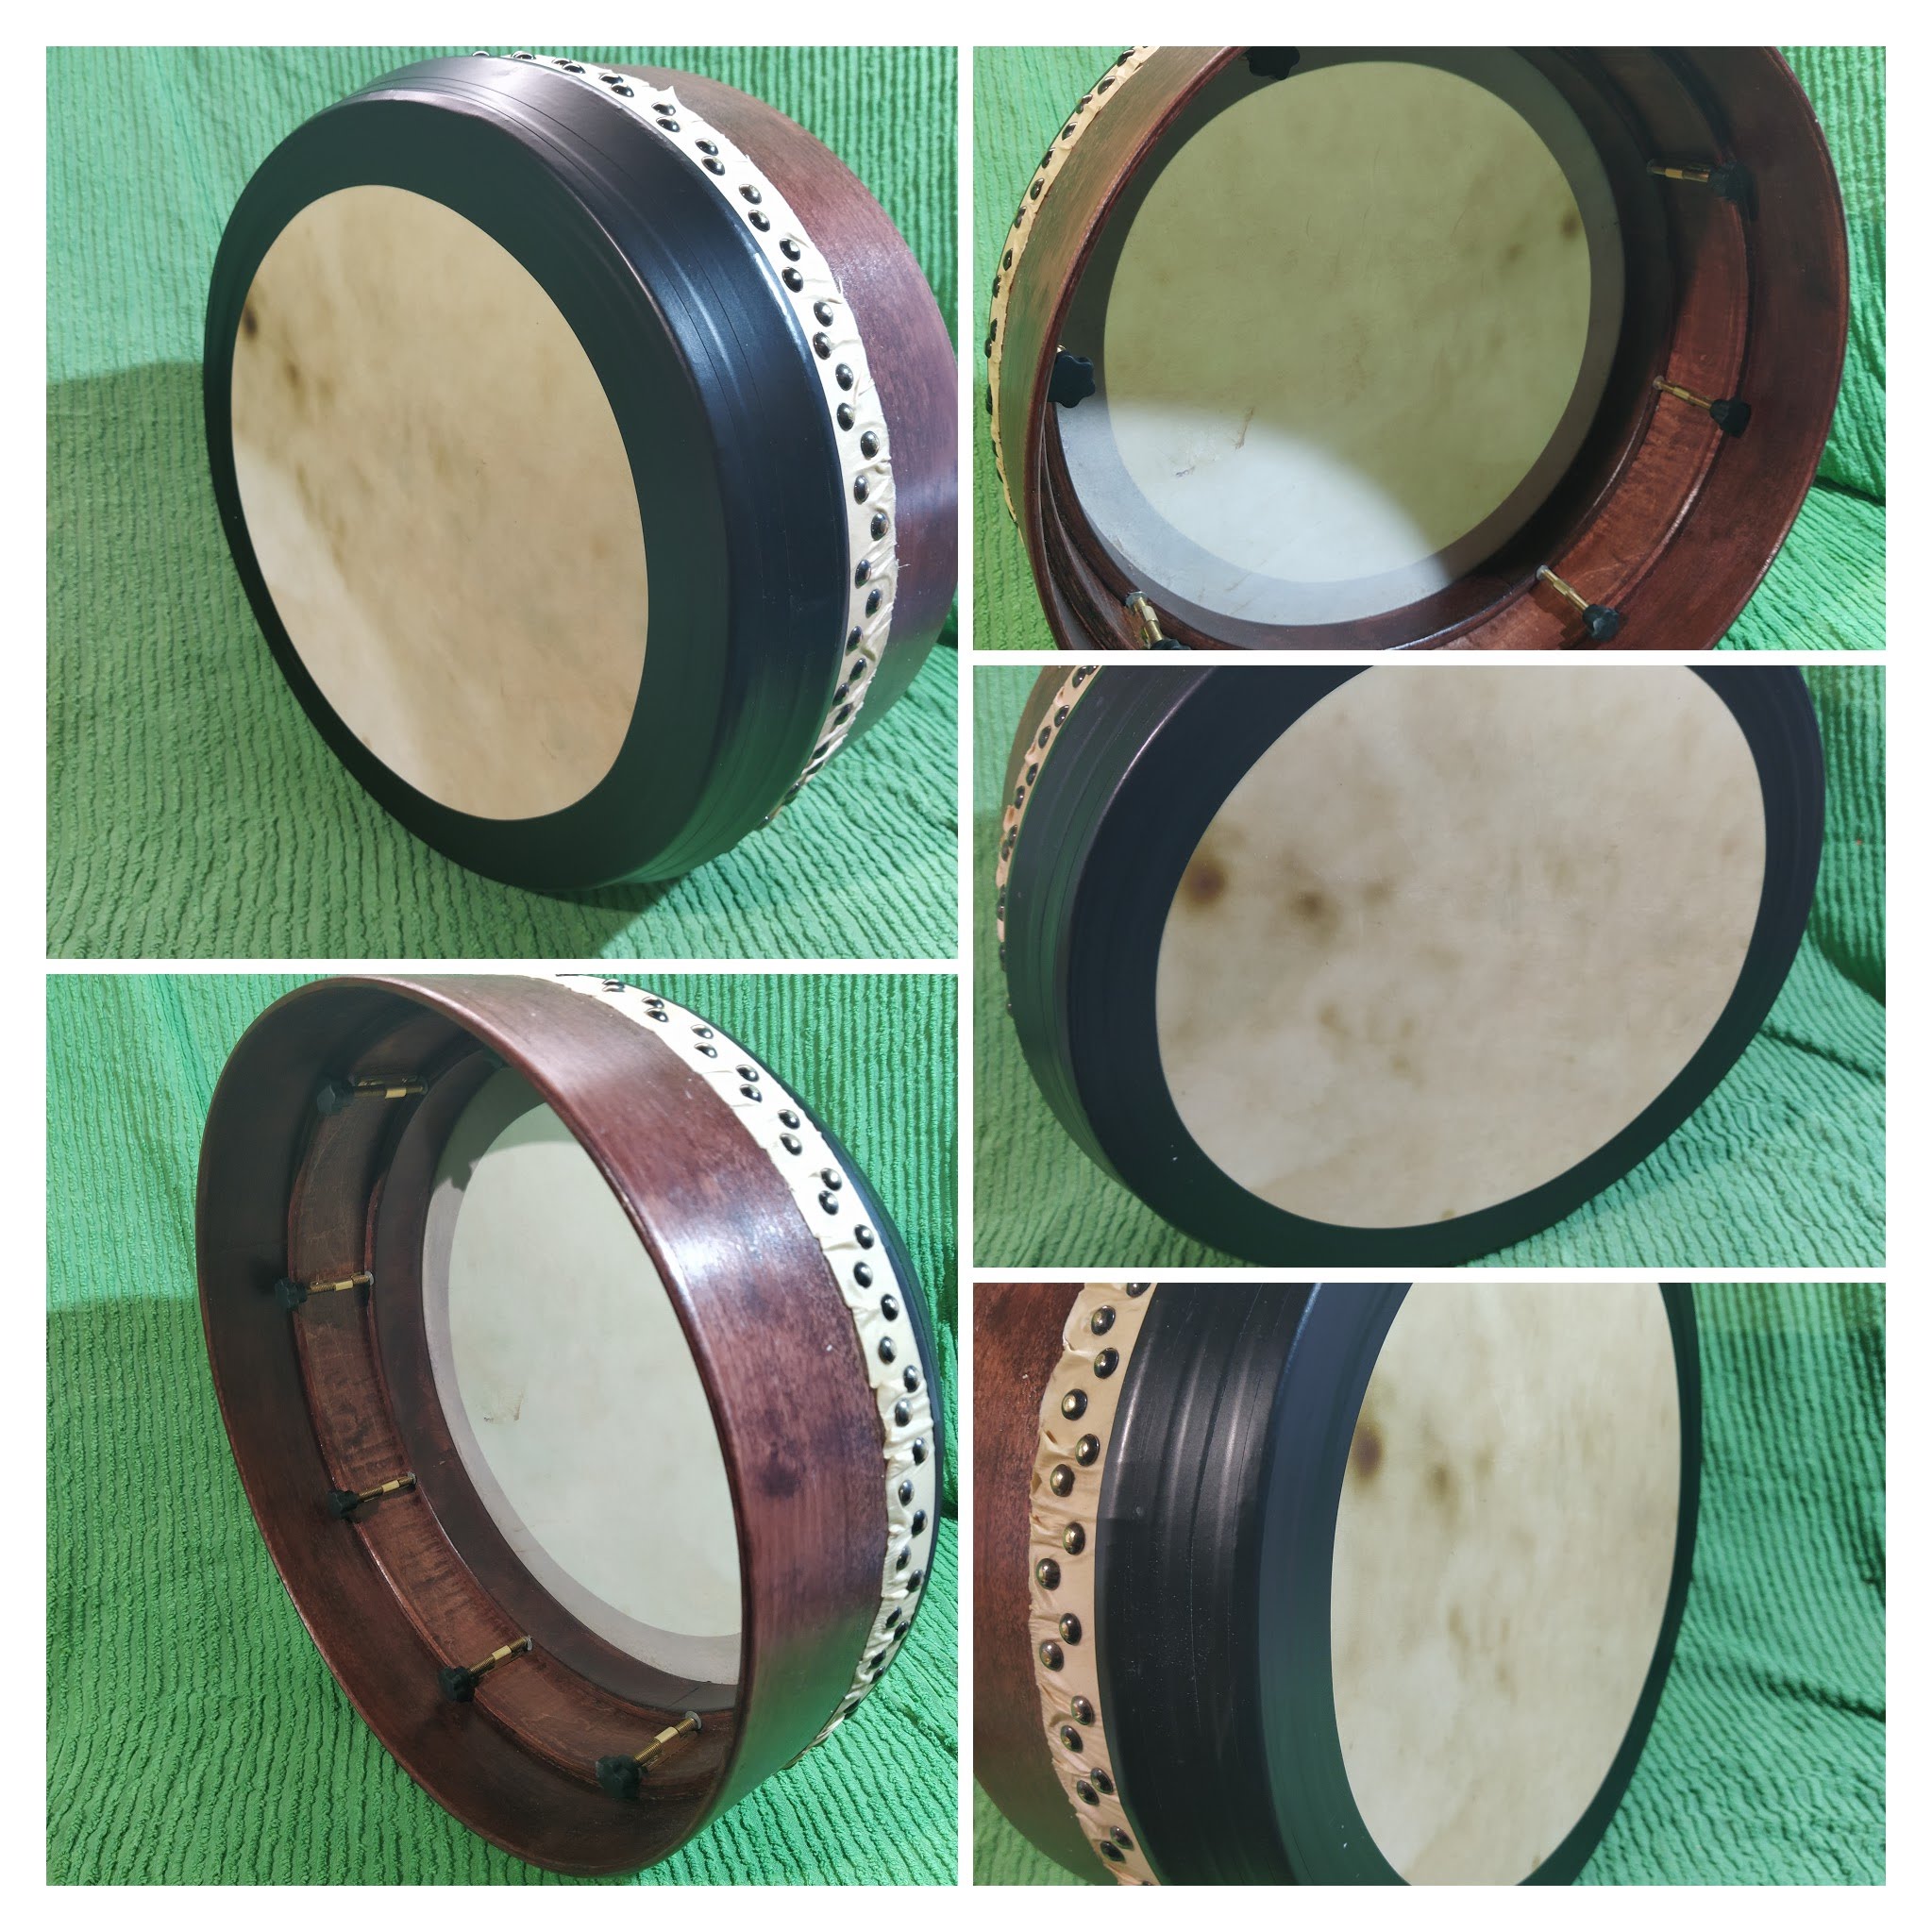
A shell (1)

The shell, the essential part of the bodhran, is made from 6-ply maple. It comes from CVL Legno
Rather than making the shells myself, I chose CVL because the exclusive manufacturing process developed by CVL uses less glue than so-called ‘traditional’ processes, resulting in drums with a more natural sound.
This technique of gluing very fine folds results in drums that are solid yet very light.
Compared to other woods (poplar, birch), maple provides a deep sound with rich bass.
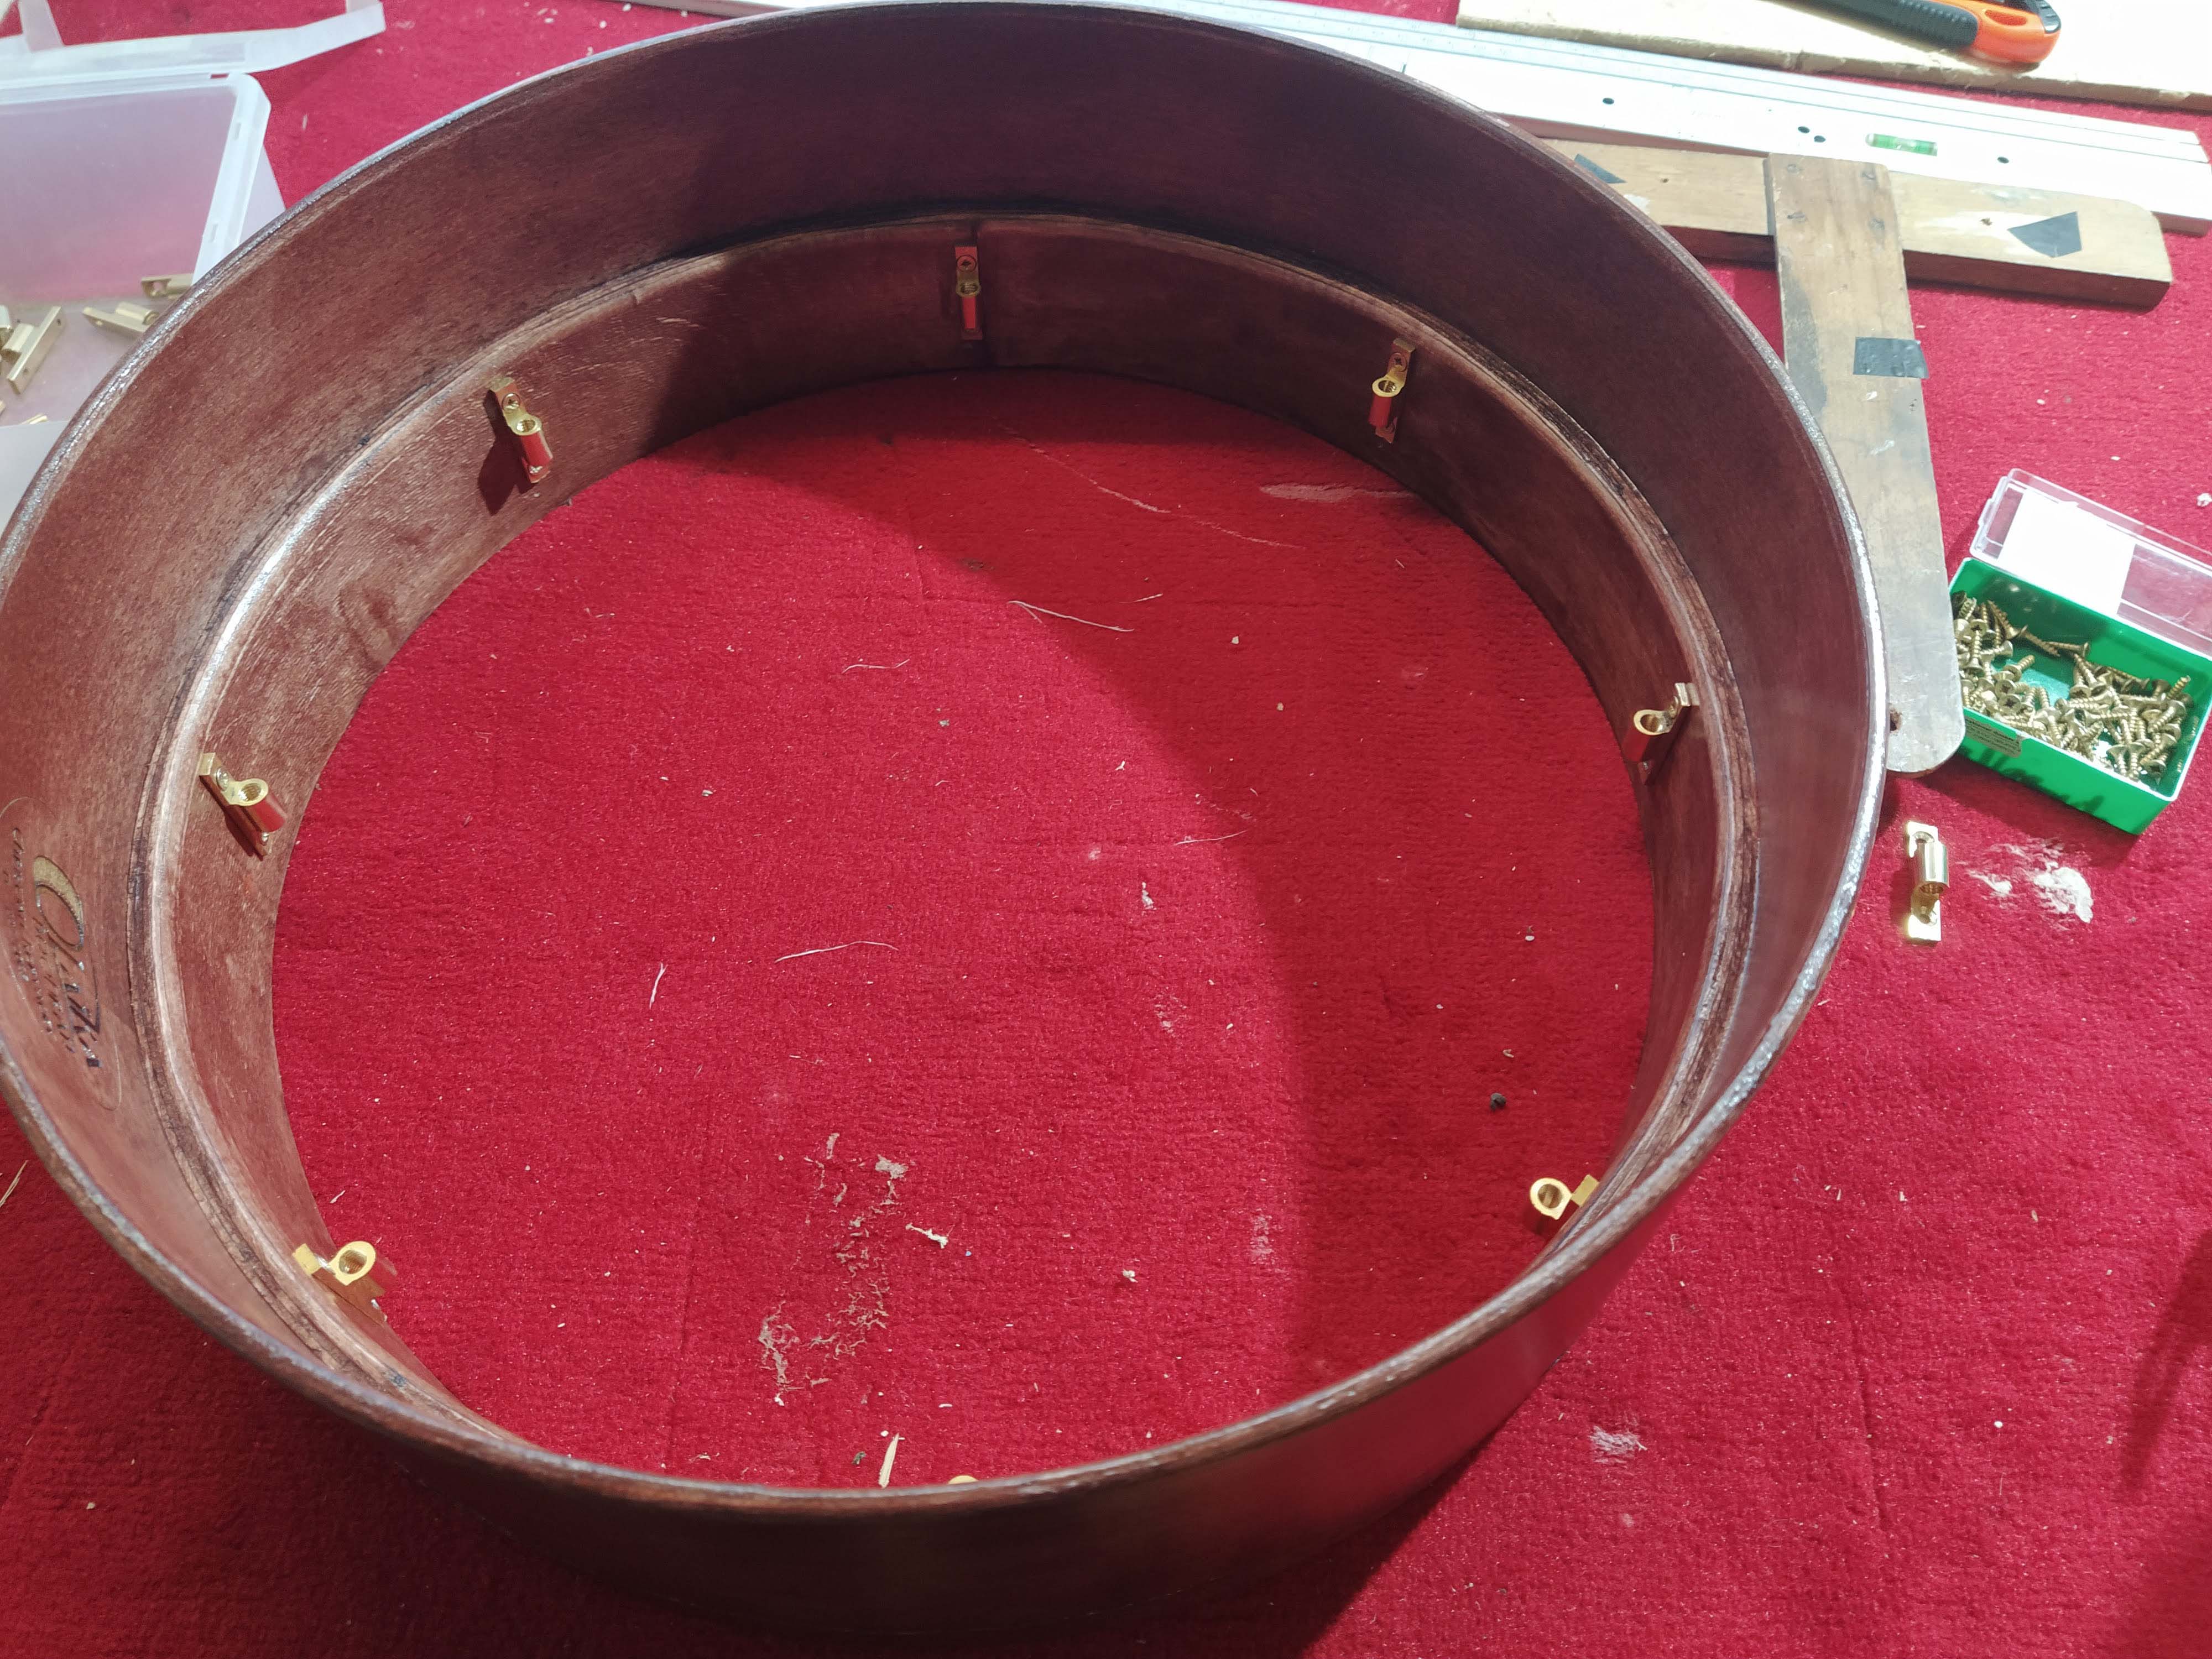
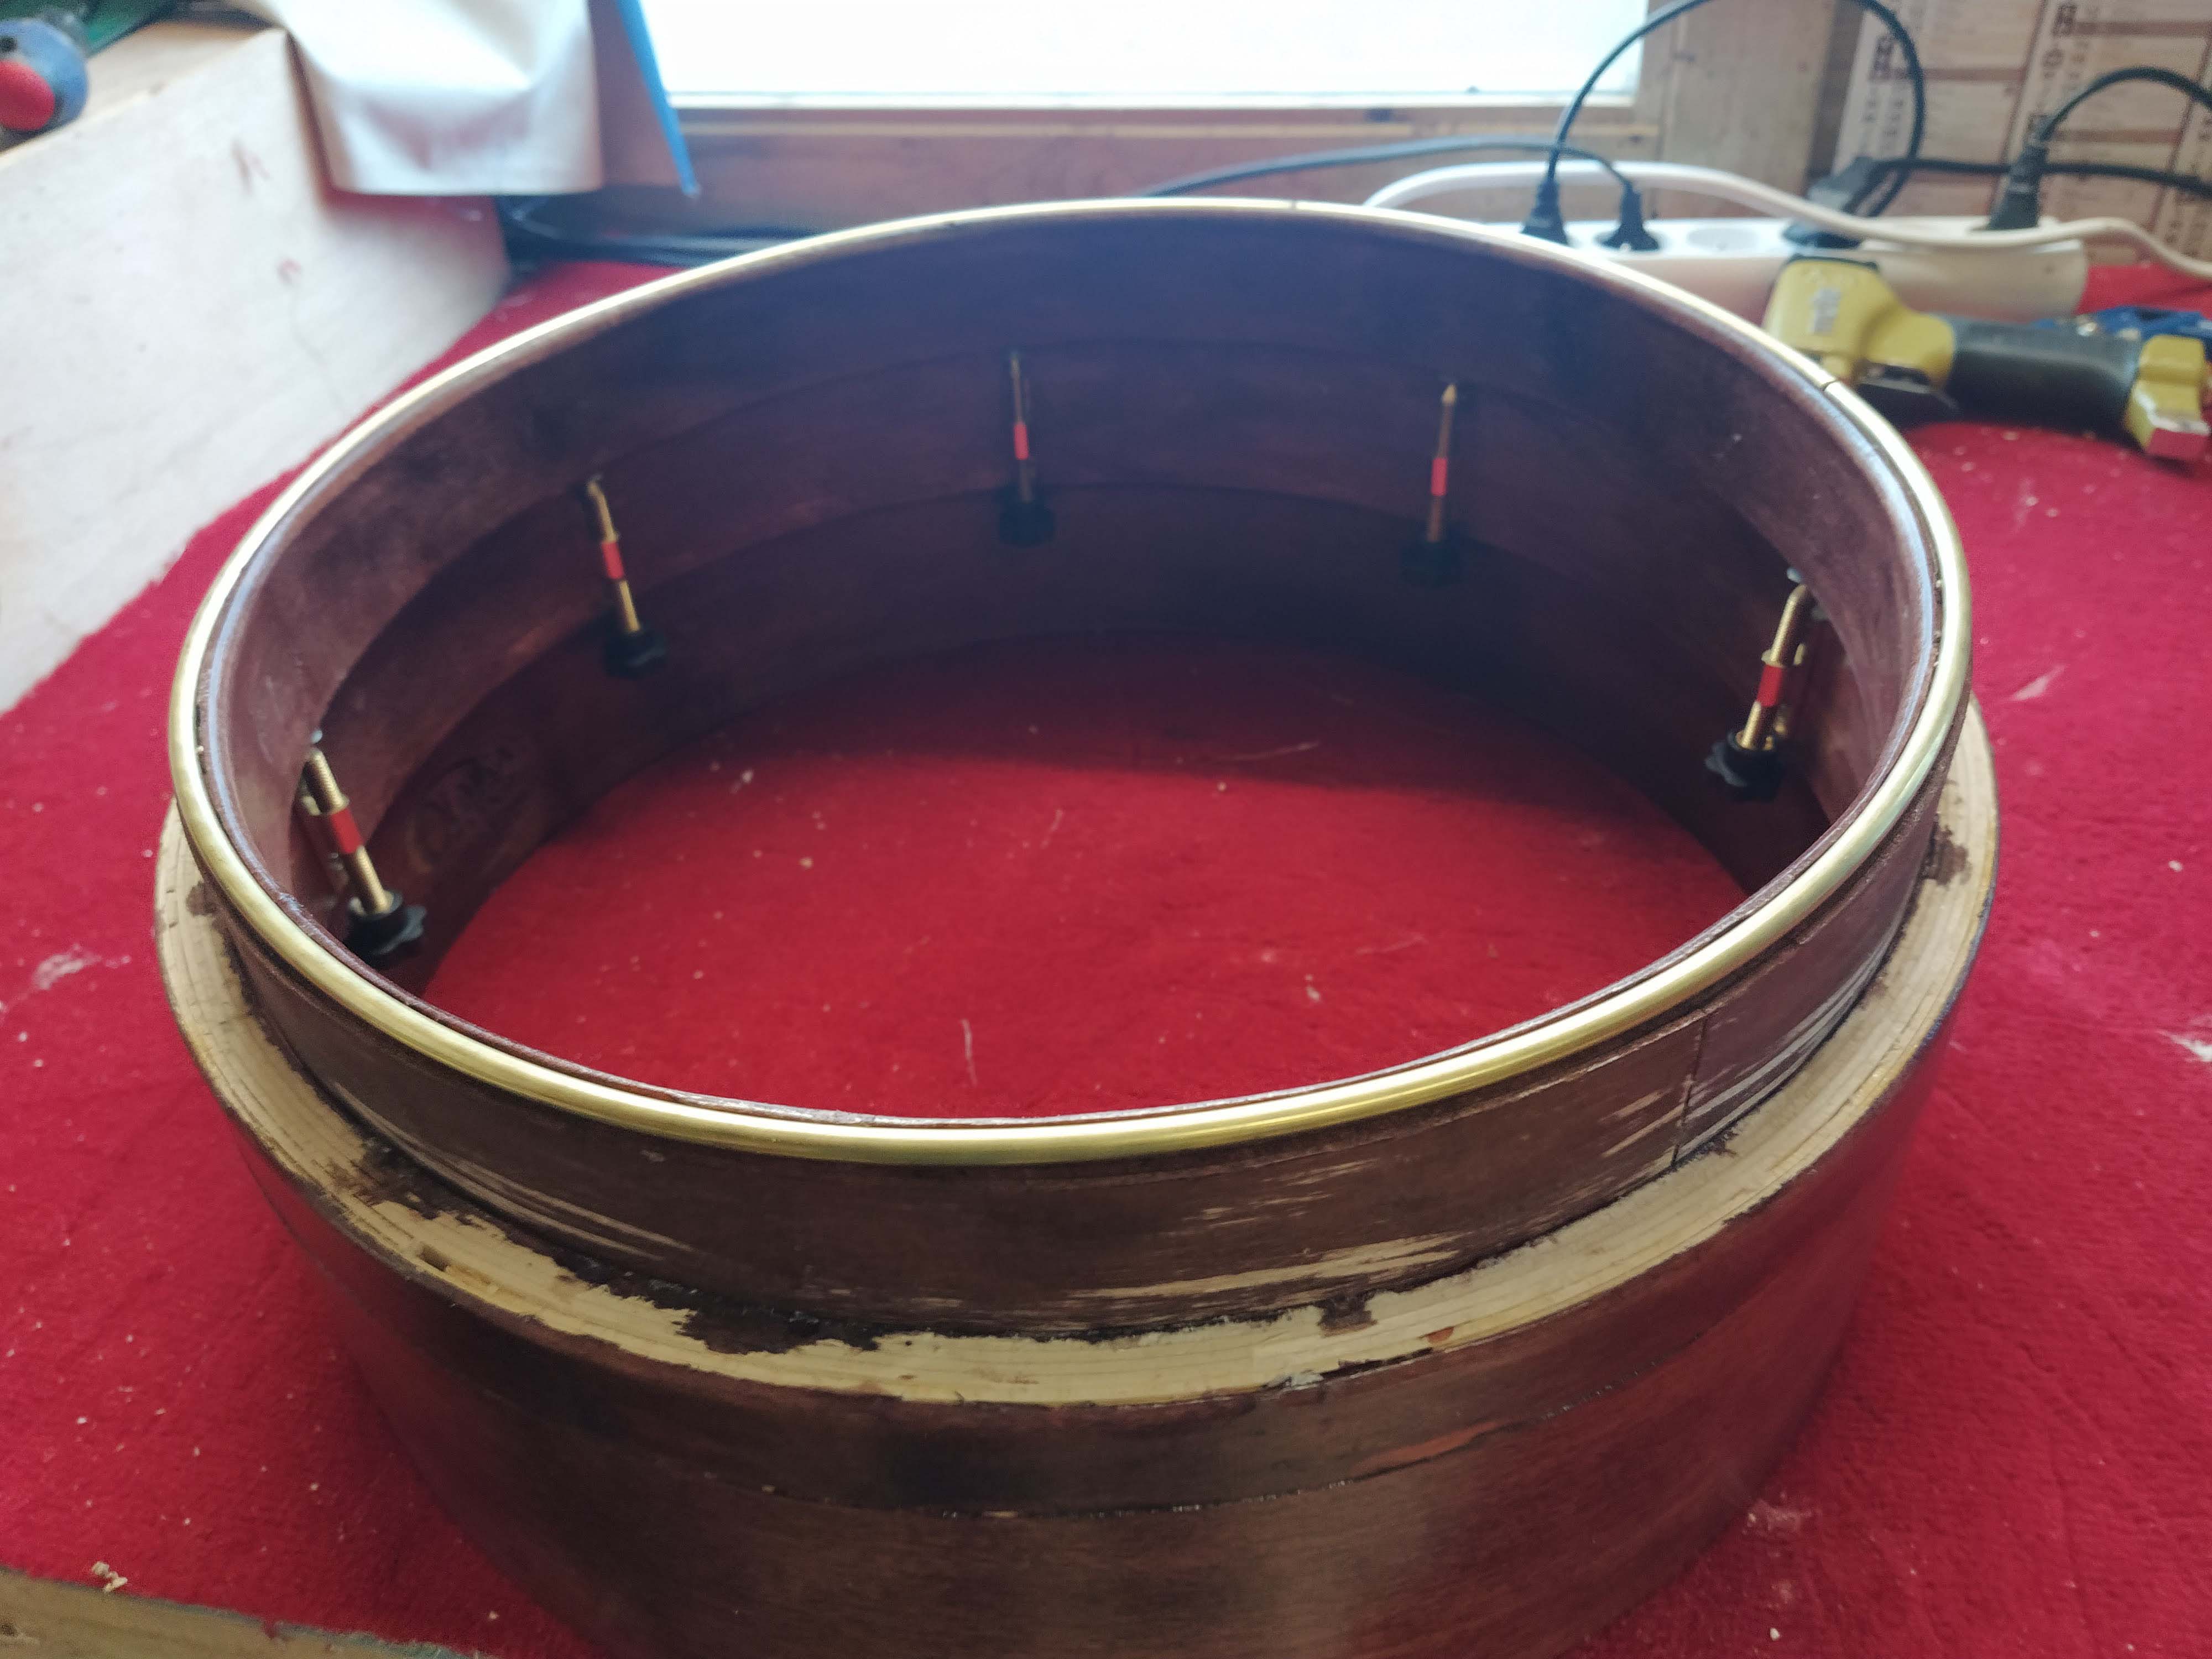
A reinforcement circle (2)
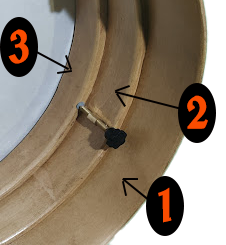
It is made from 4 maple plies
A tension/push circle (3)
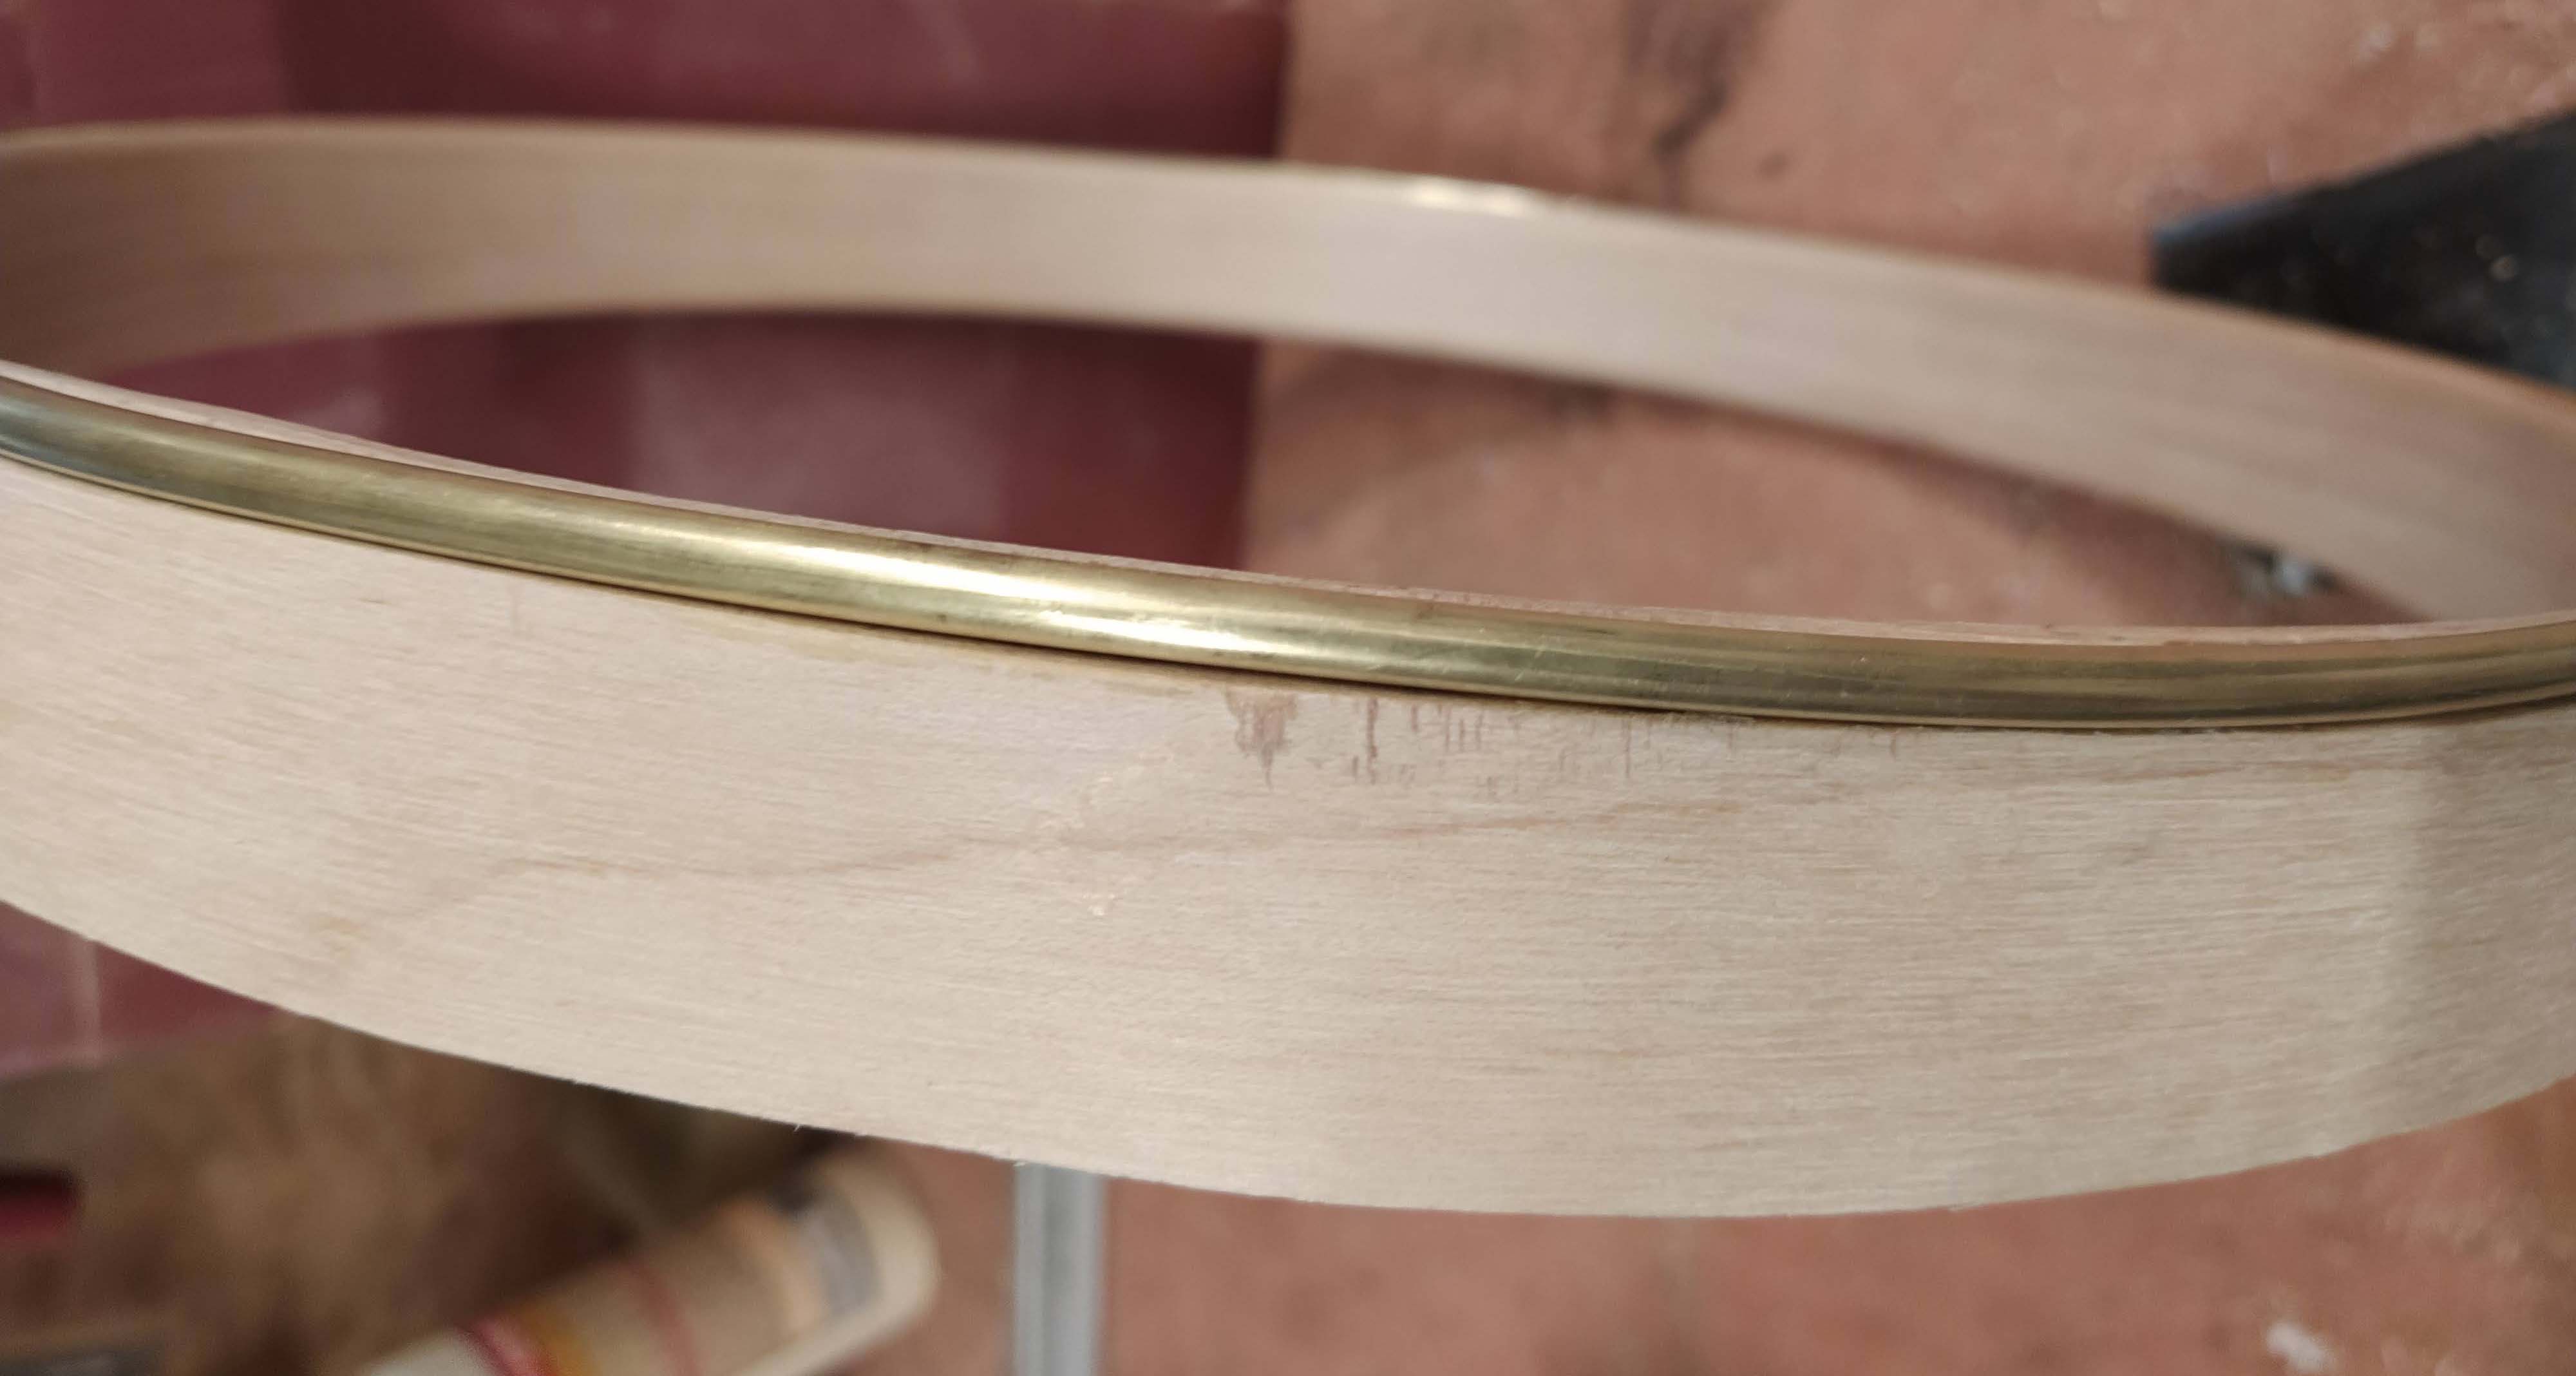
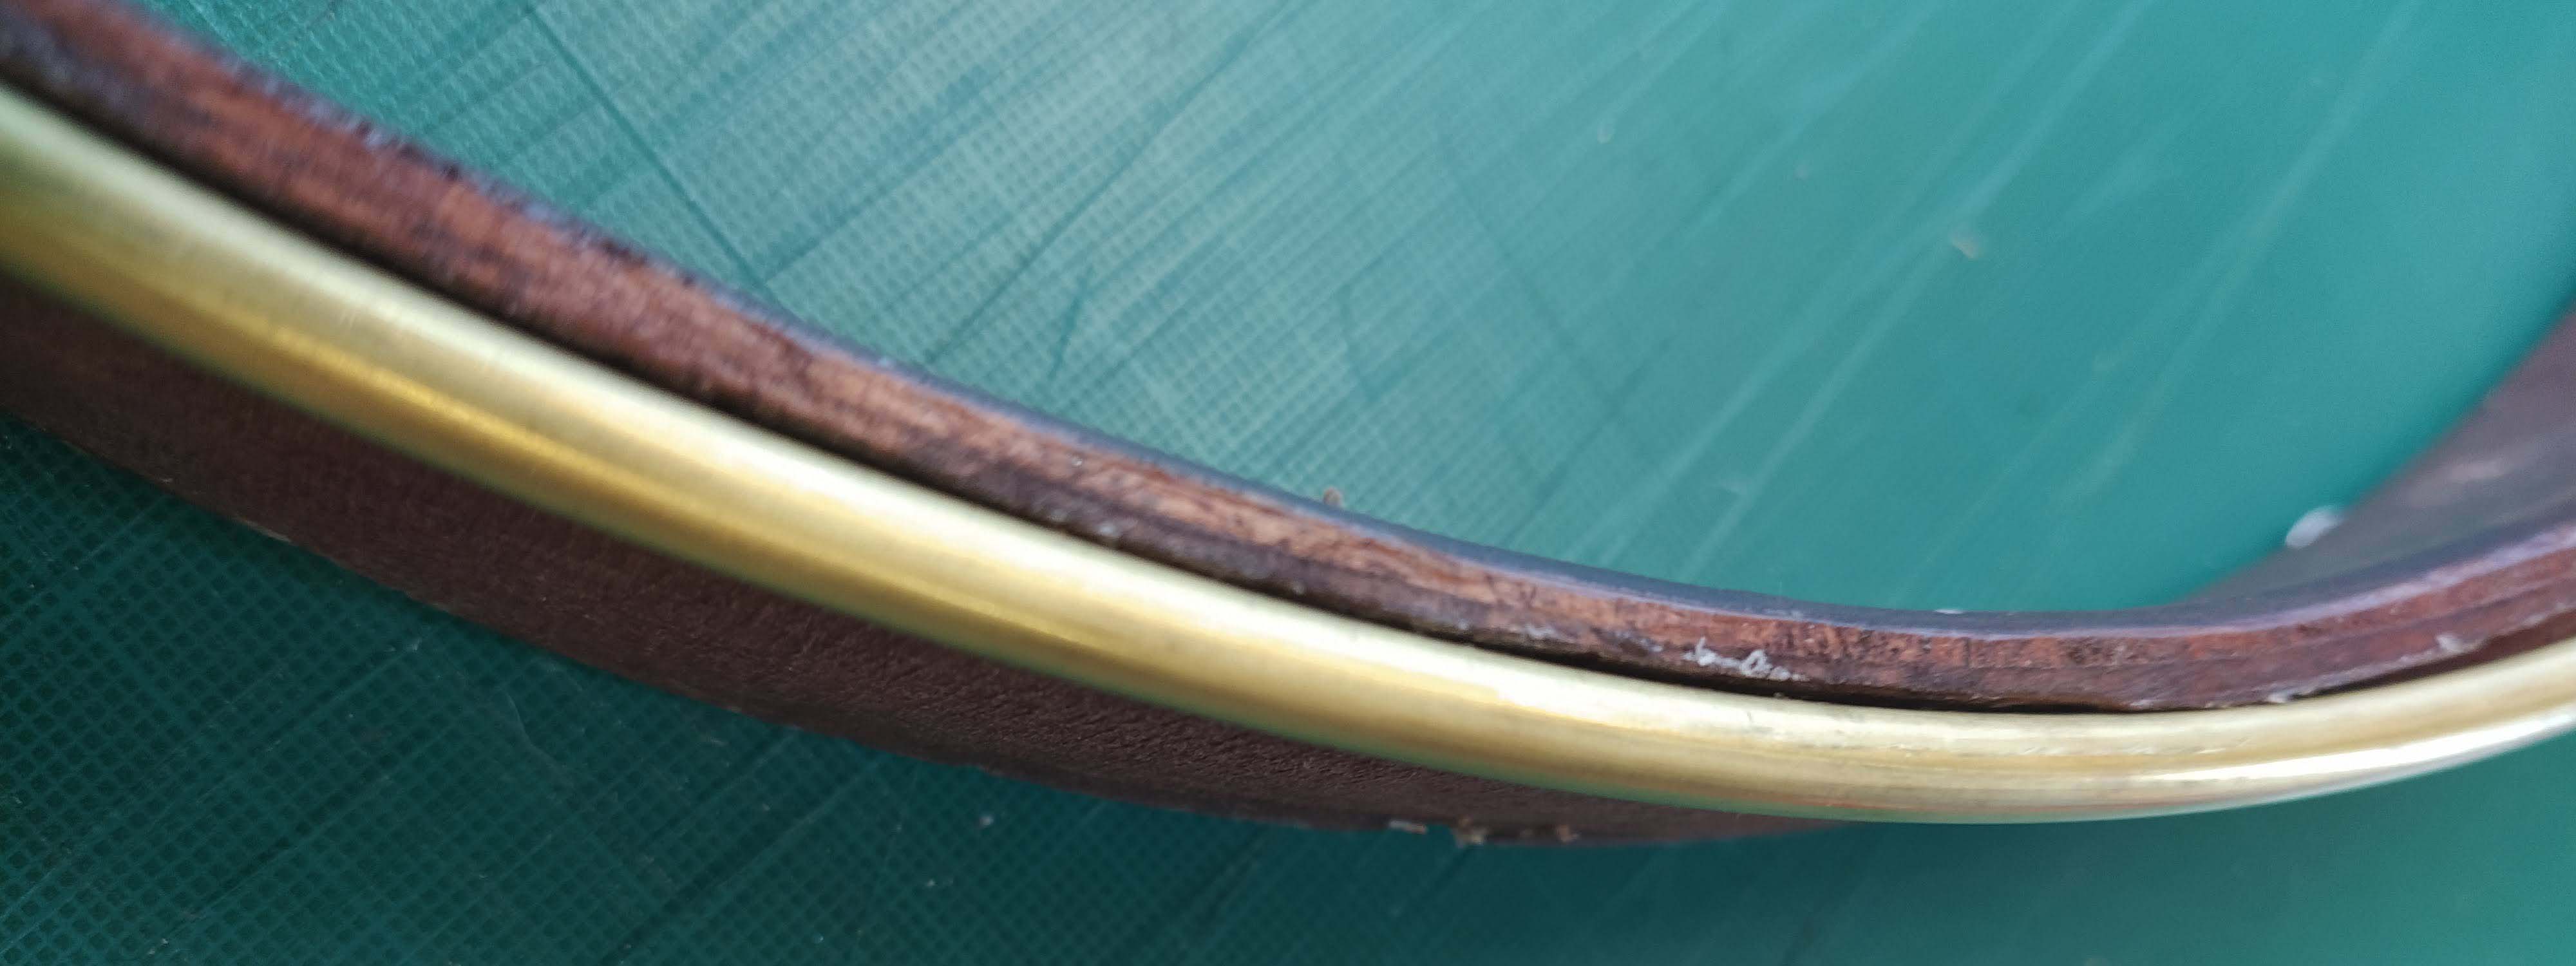
Made from maple, the push ring has 6 plies.
The part in contact with the skin is a ring made of a brass tube, a system inspired by ‘old time’ banjos, in order to obtain a good balance between the low and high tones, a good attack and the purest possible sound.
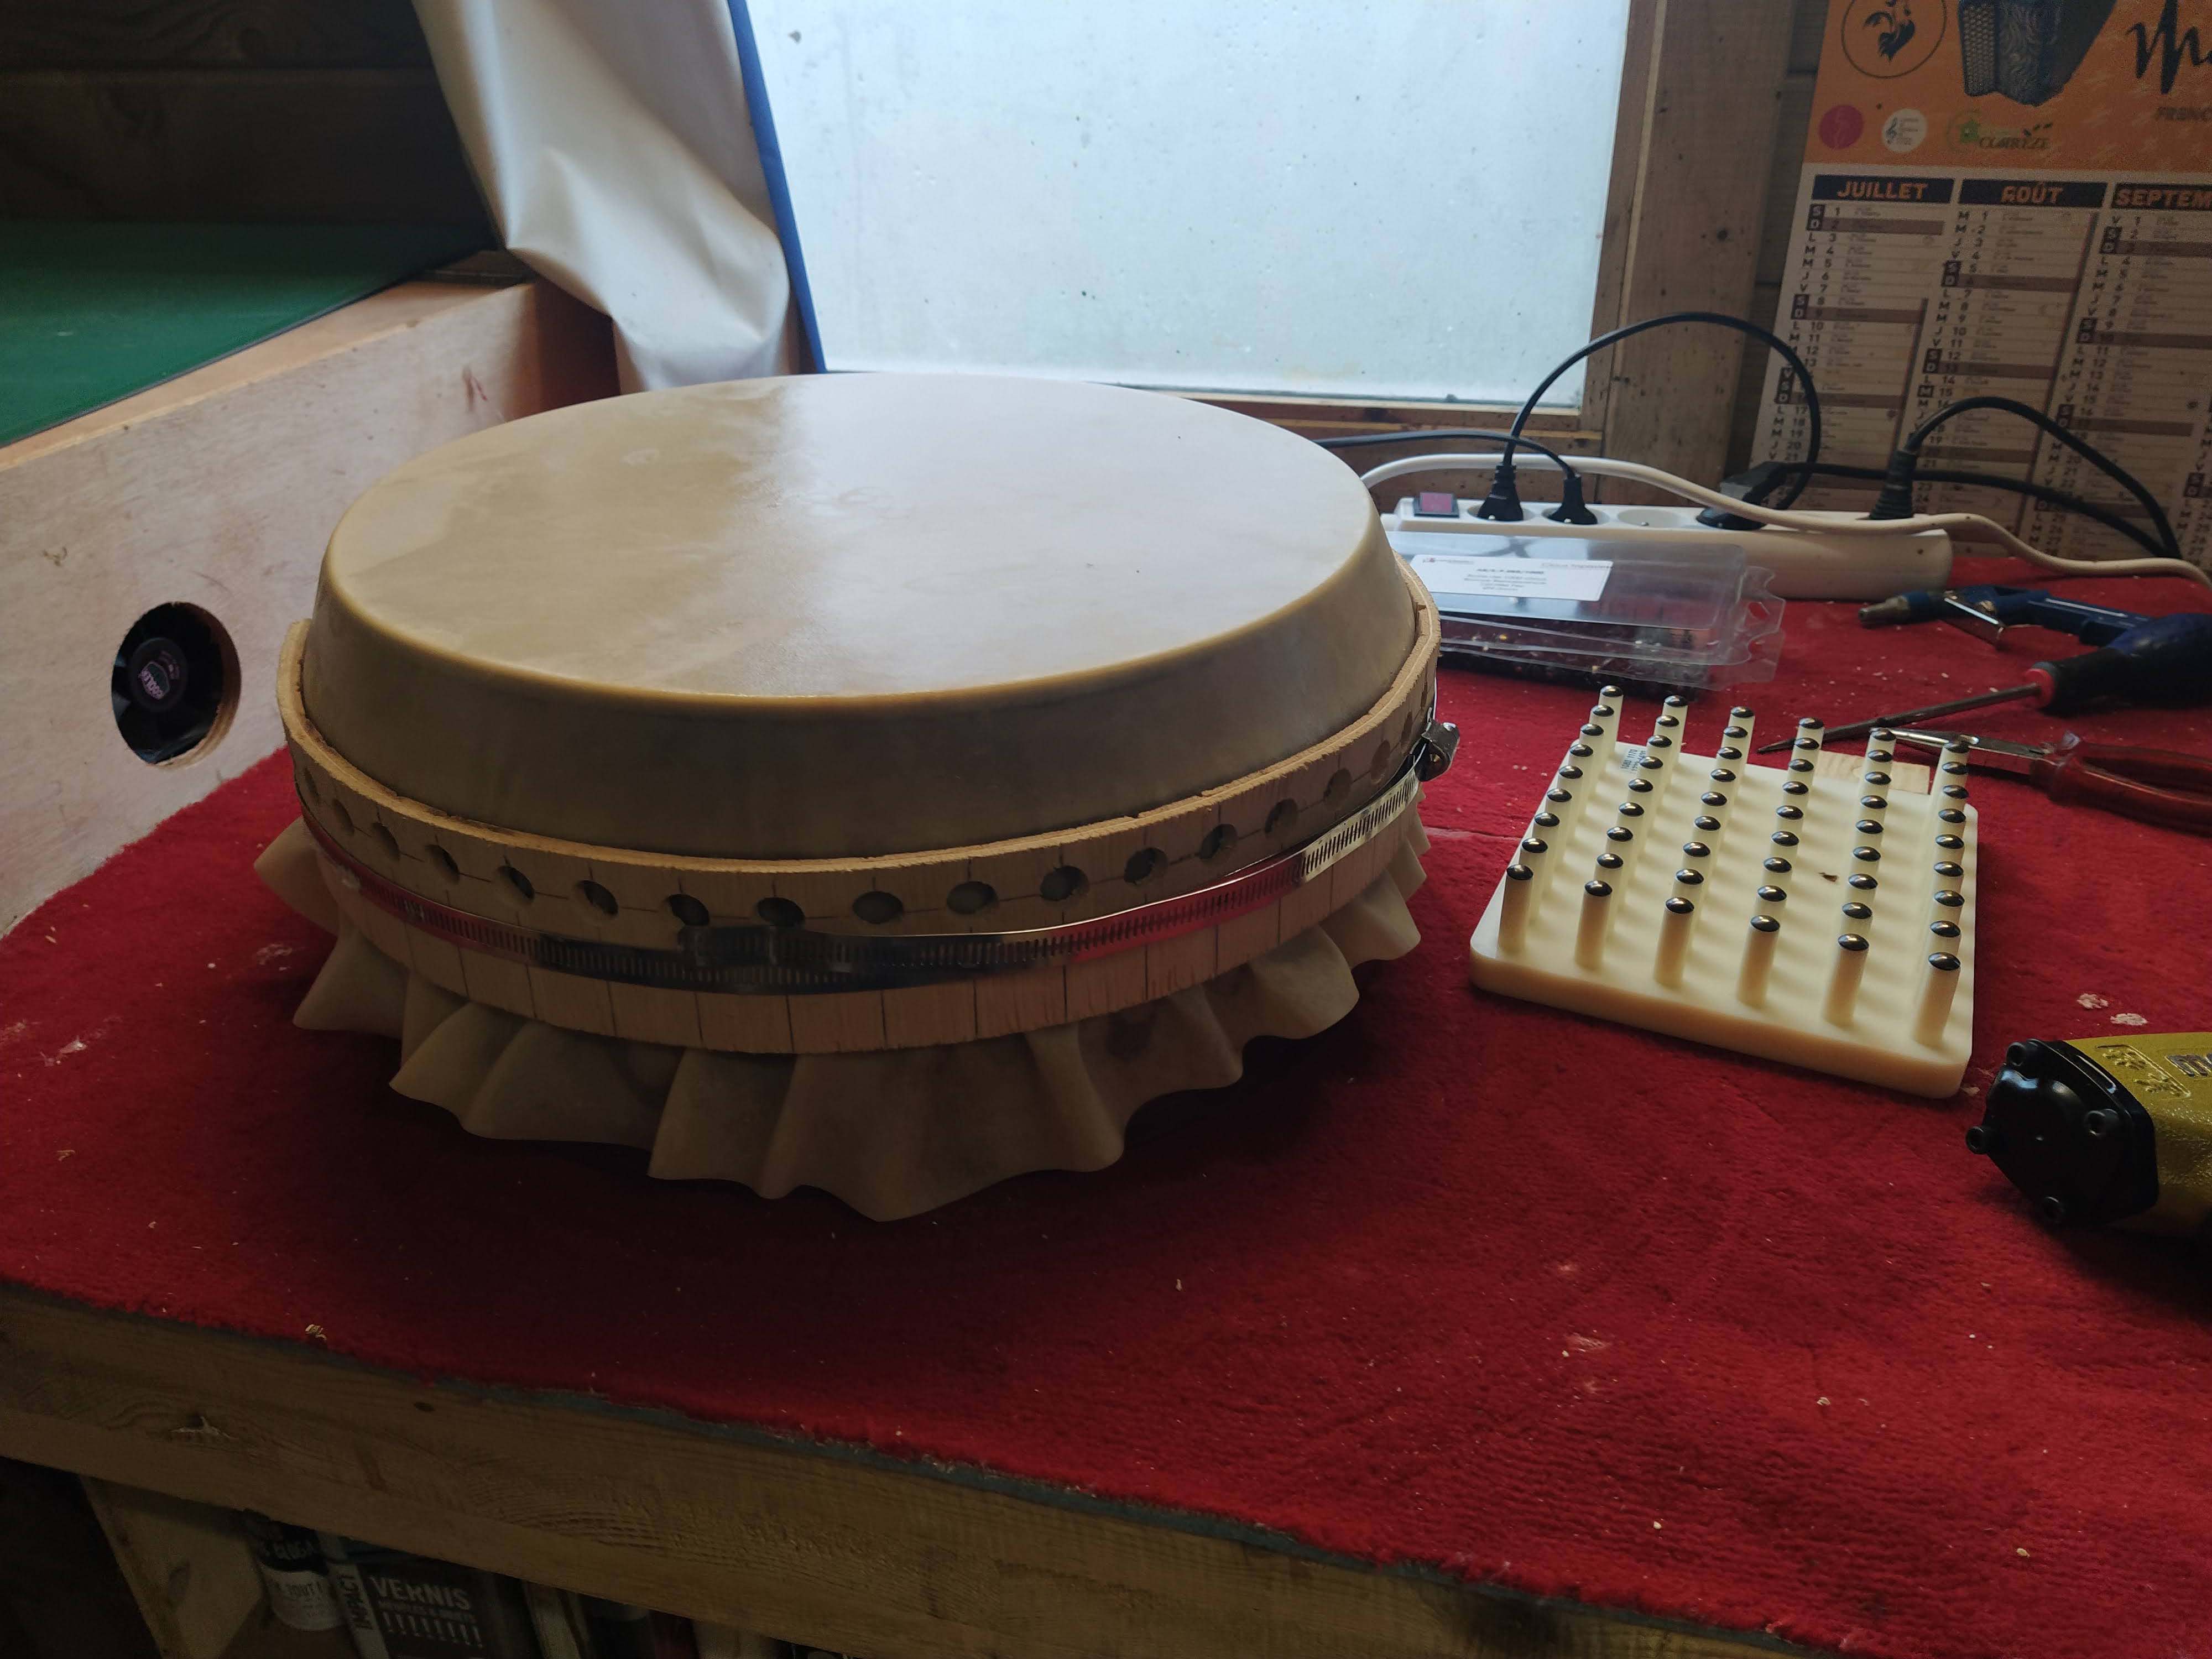
A tensioning syste
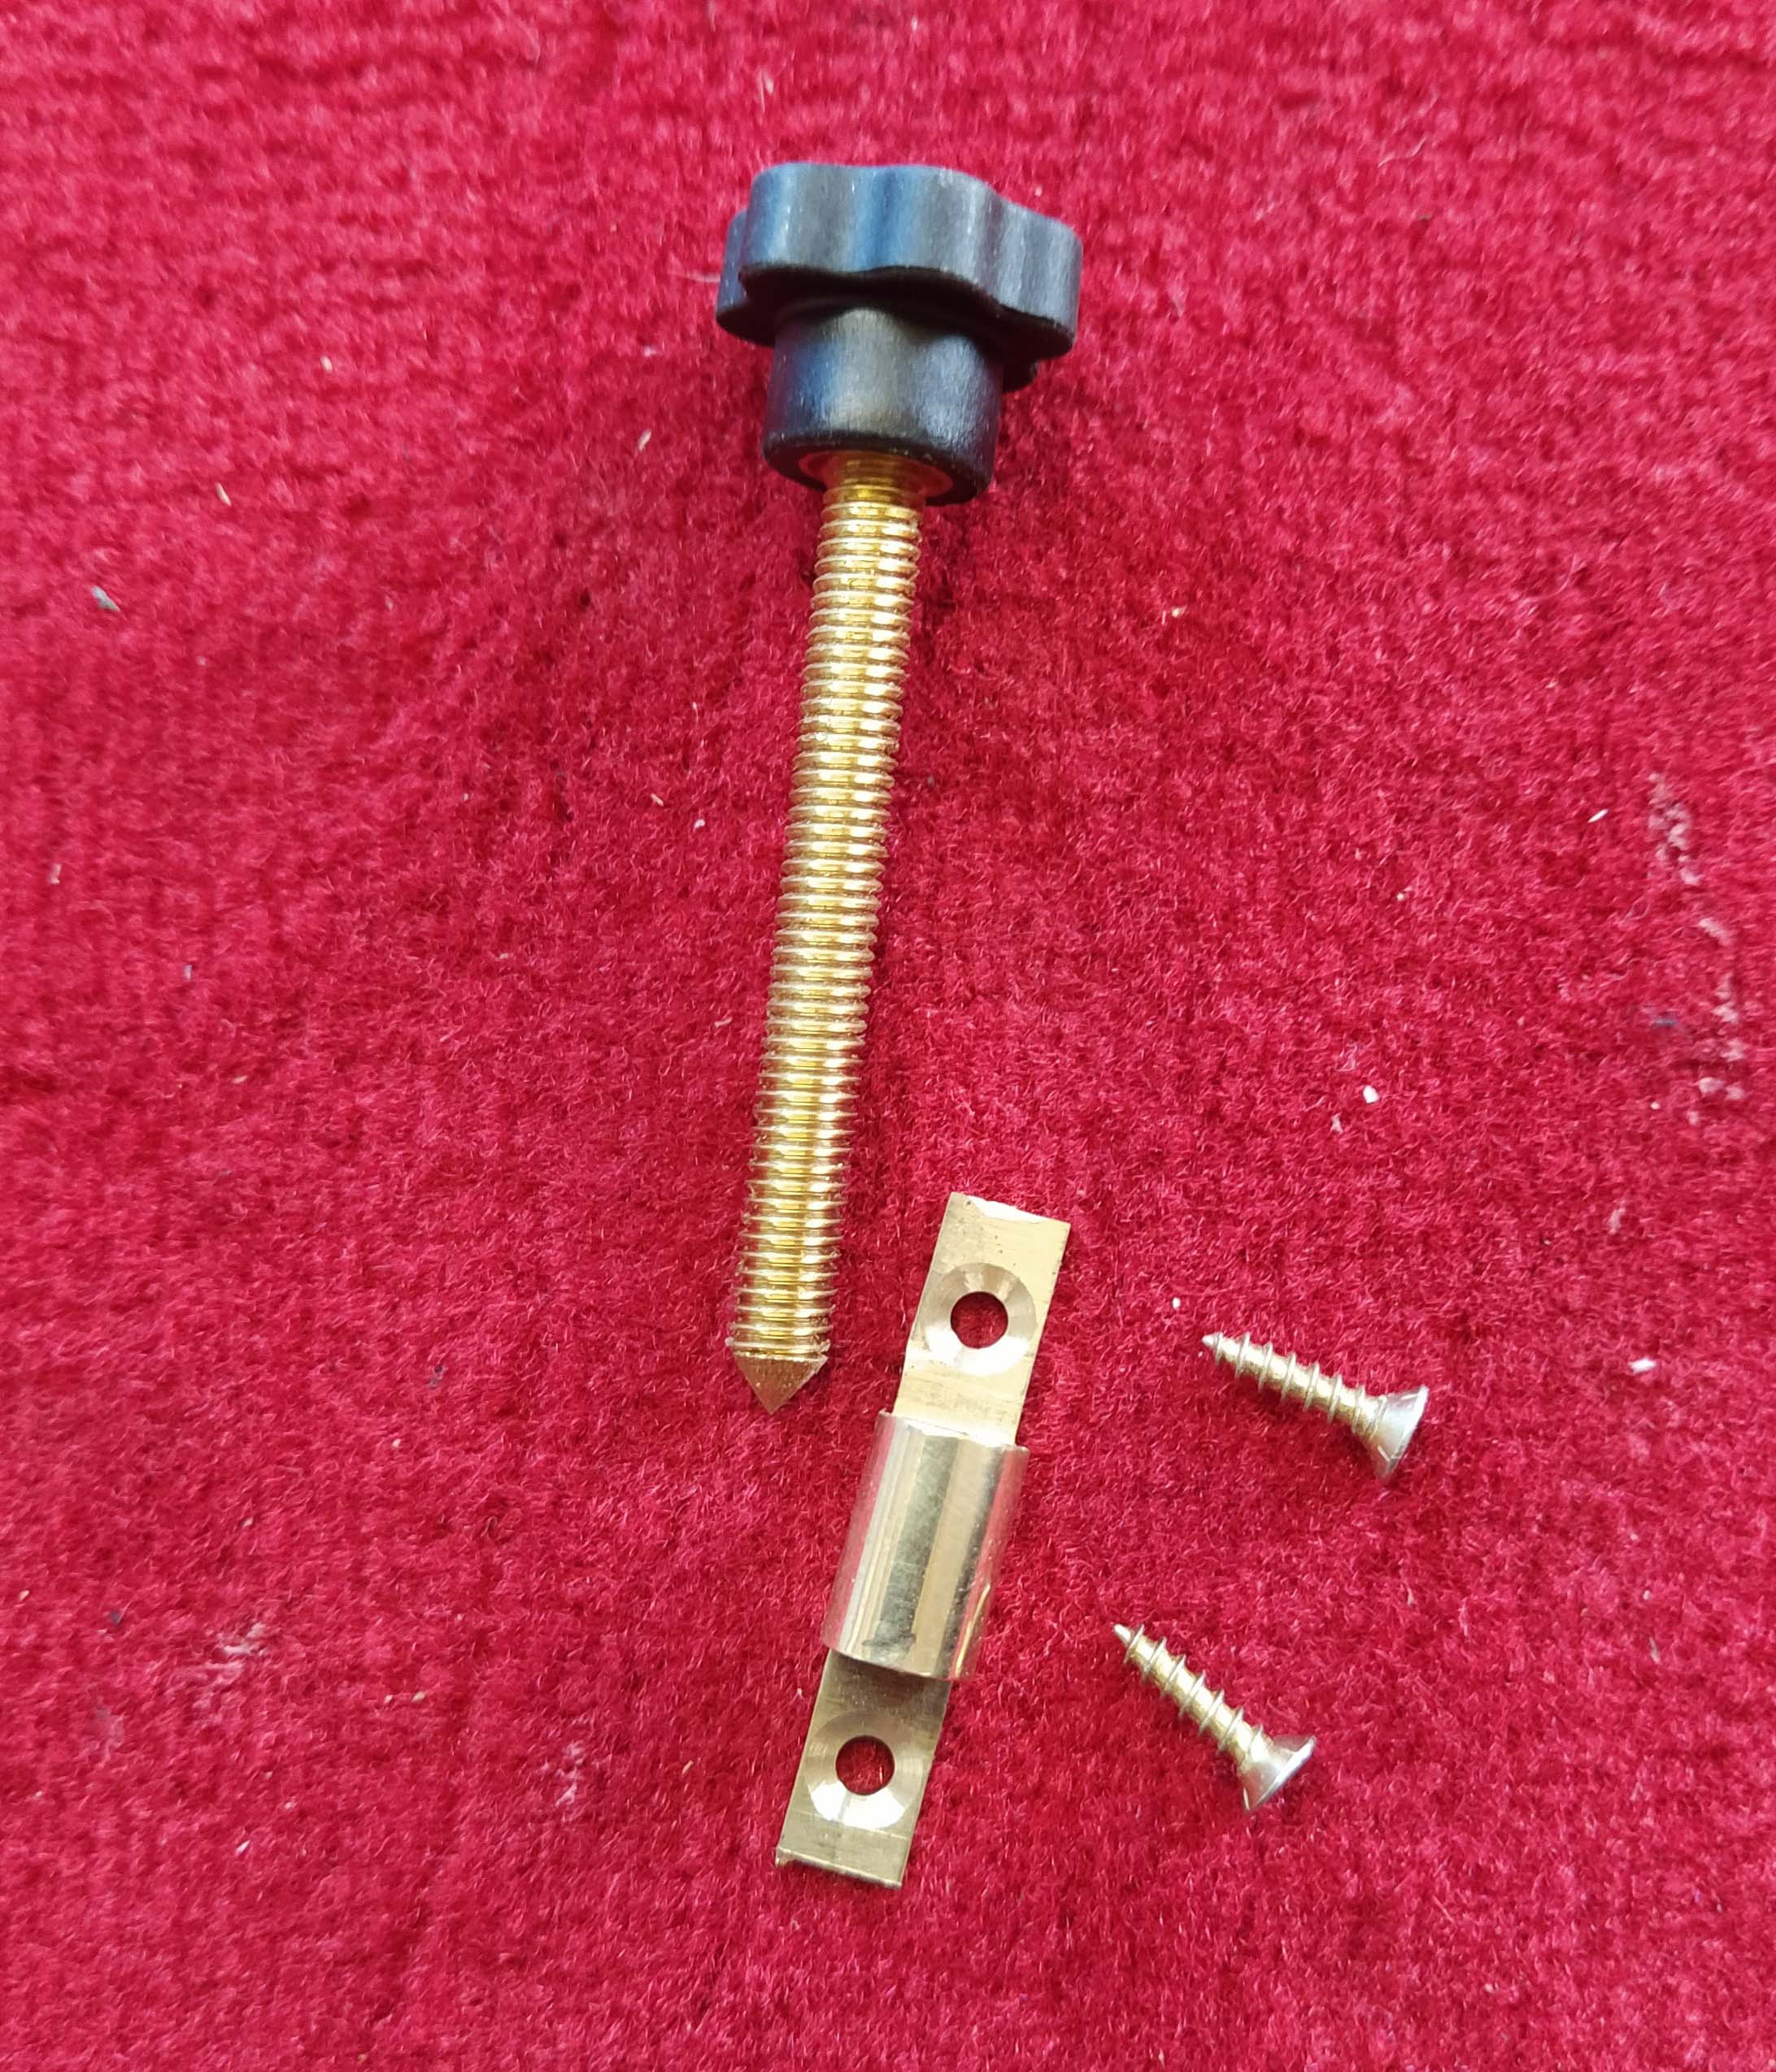
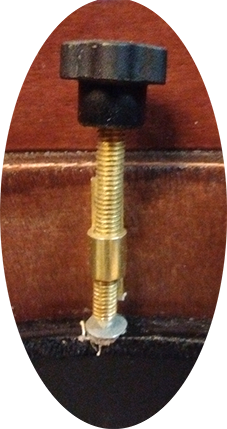
A 6 mm brass screw with a knurled knob that allows you to adjust the tension of the skin directly without using a tool.
According to the diameter of the bodhran, there are 6 or 8 tension screws.
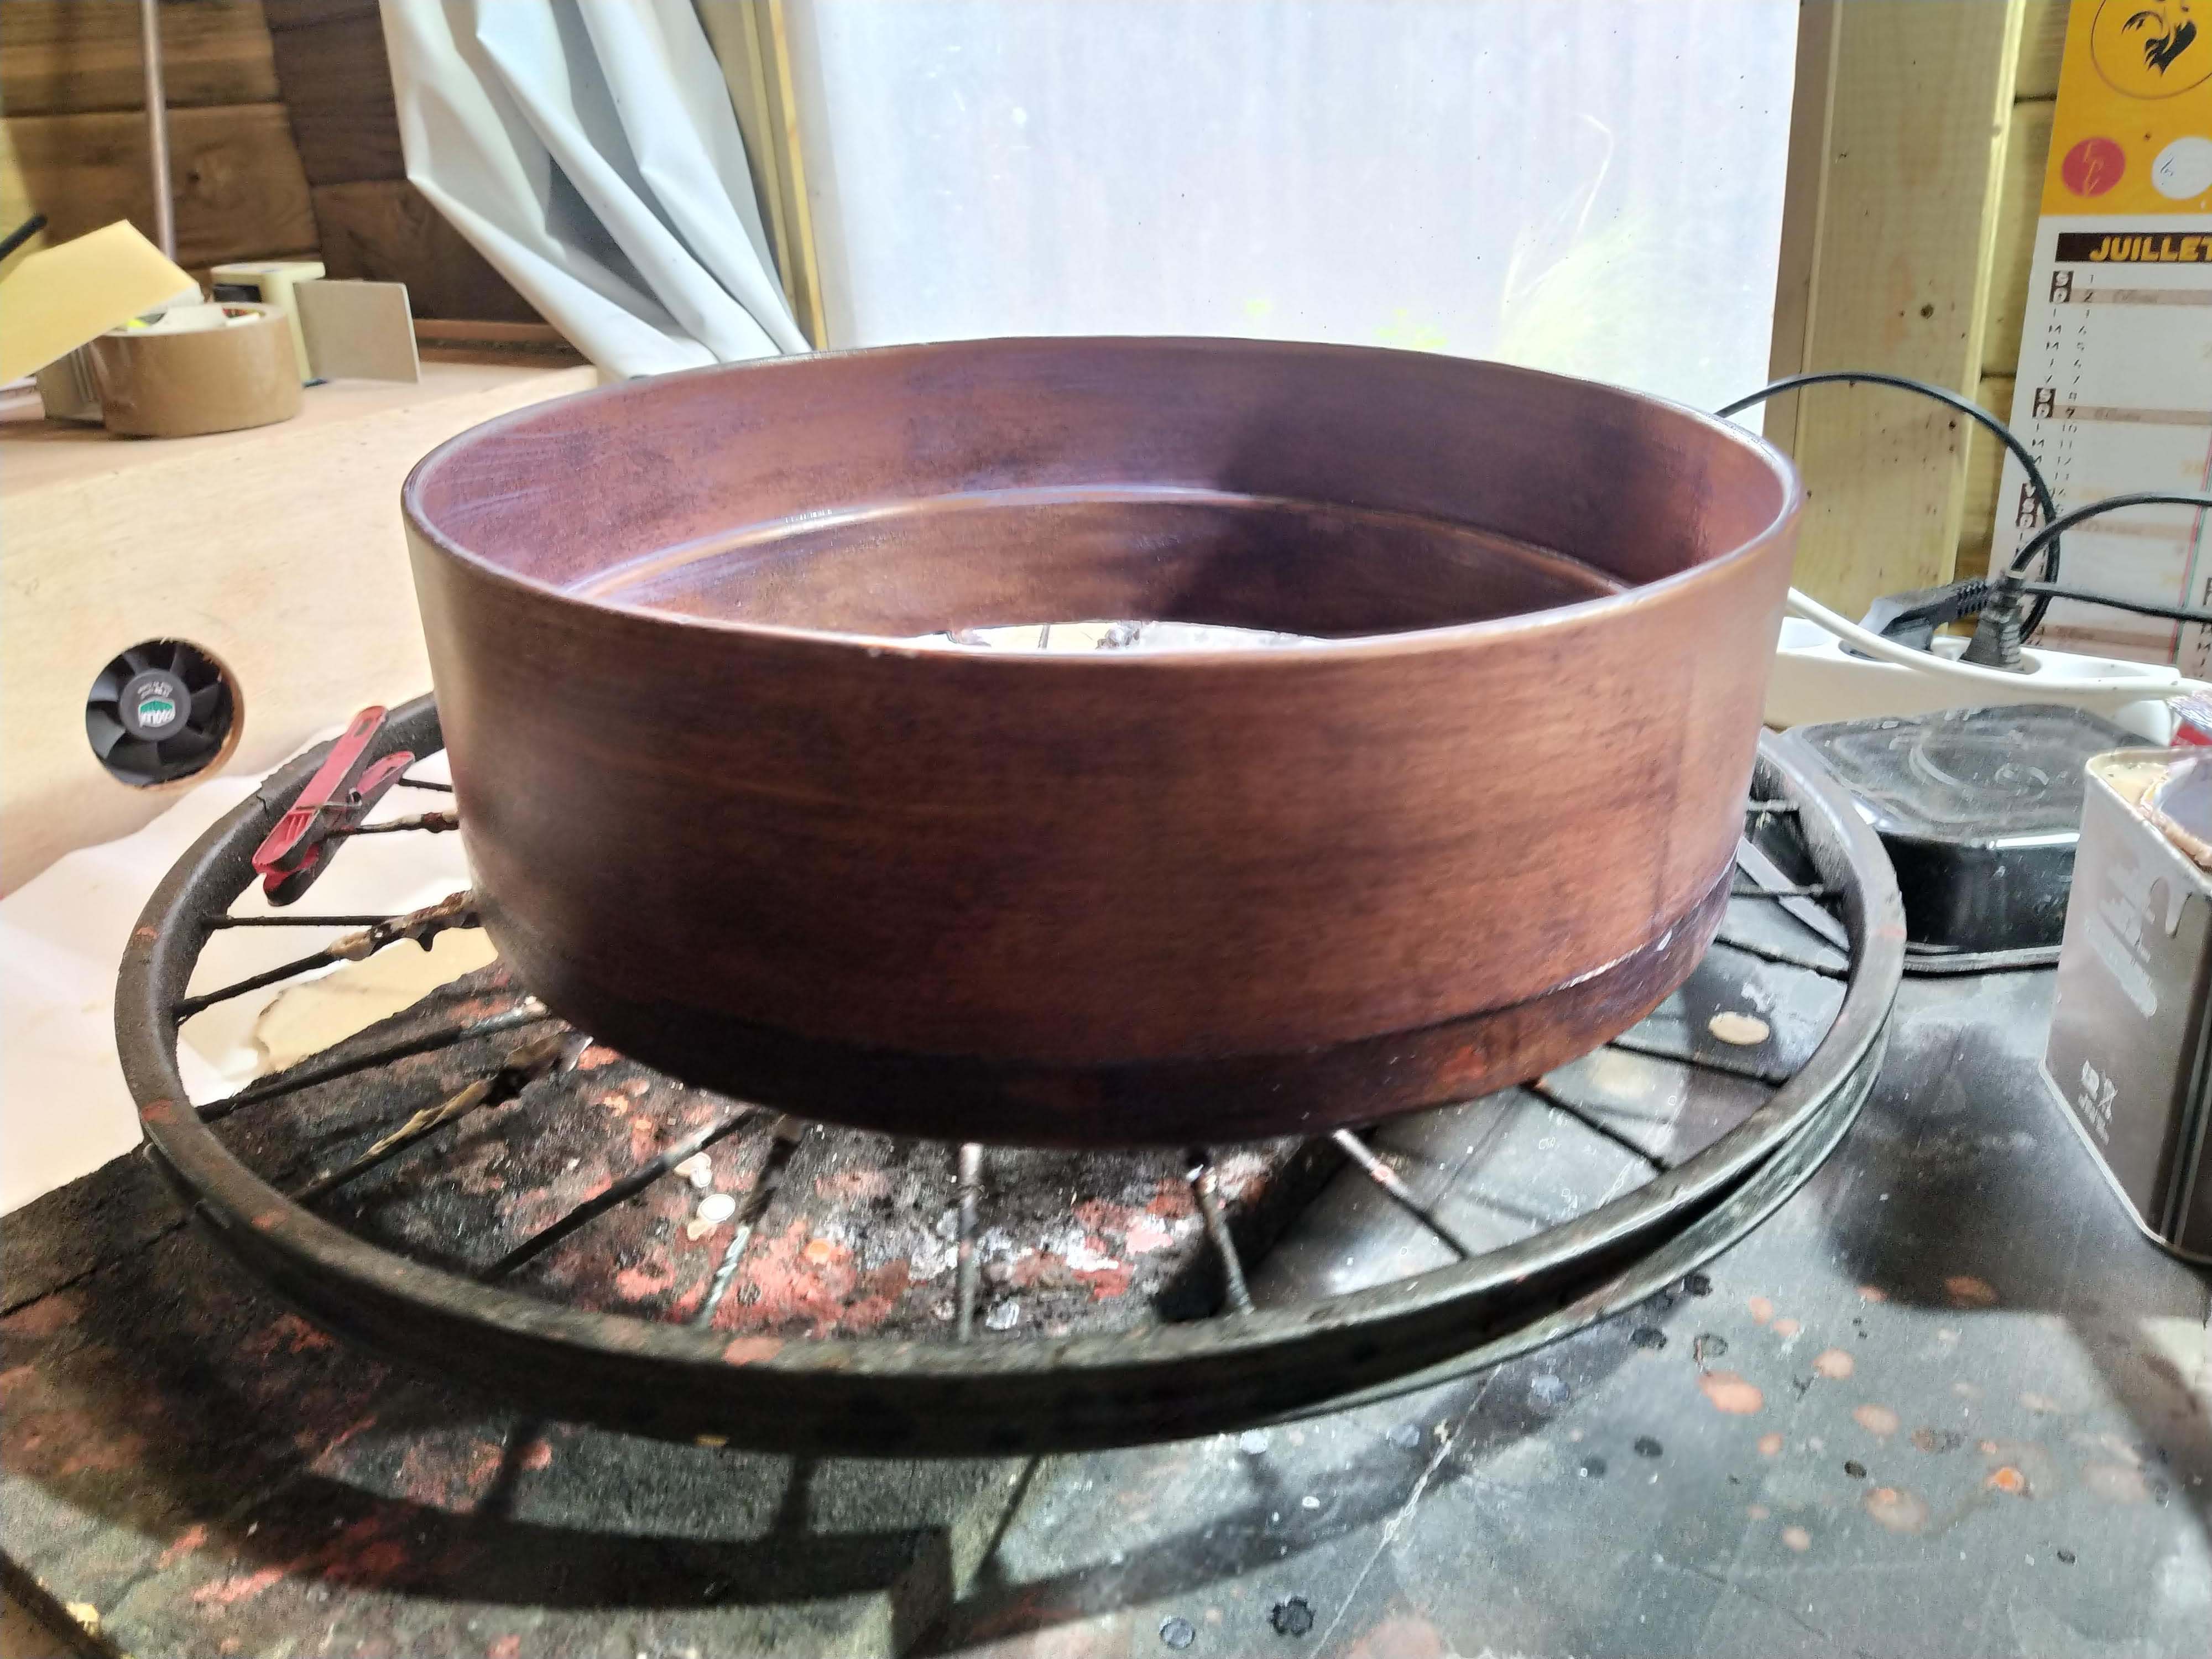
A varnish over a stain to bring out the wood grain
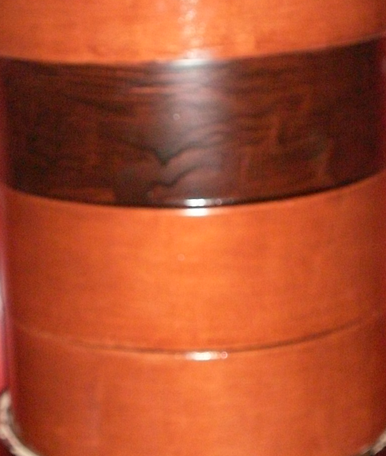
The colours are all natural wood shades (Oak, Mahogany, Rosewood, Teak, etc.).
An acrylic varnish is then applied.
A finishing touch
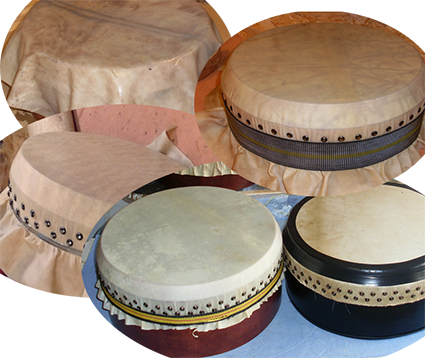
All skins are attached with upholstery pins.
Over 120 nails in 2 alternating rows make up the Olaika's signature.
The finishing touch is the adhesive tape applied to the rim to muffle bad overtones and achieve a clear sound.
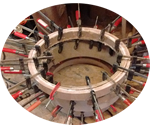
A to Z manufacturing


and brass tone ring adjustment

Final stage :
Taping
Ready to play !